Do you want to experience a fairytale Christmas this year?
Conjure up an angelic atmosphere right at your home.
How to do it?
Christmas angels will light up your festive evening.
Make easy decorations with angel motifs to decorate the tree and the festive Christmas board.
Try our simple instructions for making Christmas angel decorations.
Christmas angel made of paper.
You can create easy and effective decorations using paper, scissors, and glue. Invite children to join in the Christmas creations and make angels with a Christmas motif together.
You can also make an original light chain with glowing angels; we will advise you on how to do it.
Making this Christmas angel decoration will take you up to five minutes. Make a few and hang them on the Christmas tree!
What you will need:
- White cardboard
- Textured flesh-colored cardboard
- Scissors
- Adhesive
- Circle or tracing bowl
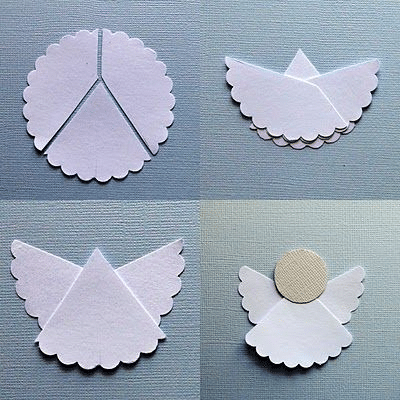
Method:
- Create a circle on the white cardboard using a compass or a bowl. Draw arcs all around and cut them out.
- Cut the wheel into three parts, as shown in the image above.
- The middle part is the body, and the side parts are the wings. Stack the individual parts on top of each other so the body is at the bottom. Glue all parts.
- Cut out a round face from beige cardboard and glue.
- Turn the angel upside down.
- If you prefer a minimalist style, leave the angel as it is. Anyone who wants can paint his face.
Christmas angels on the table
Impressive Christmas angels perfectly complement the festive board. You can create it in a few minutes from an ordinary paper tray.
If you want to set the table in a truly heavenly style, don’t forget the famous snow meringues, which will not only please your taste buds but also serve as an angelic decoration.
Delicate meringue is one of the most popular types of Christmas cookies due to its easy preparation, beautiful appearance, and mild taste. We have selected six of the most beautiful and delicious recipes for you!
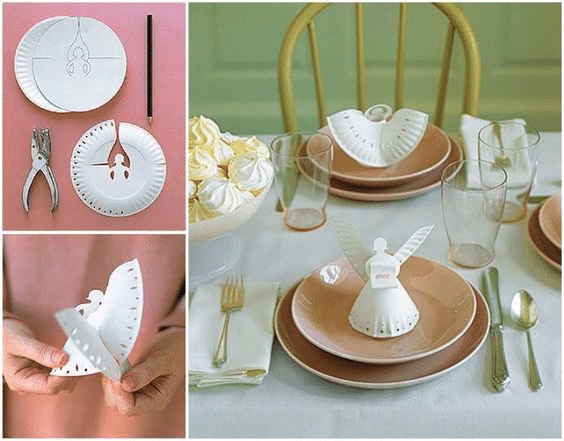
What you will need:
- Paper coasters
- Punch or decorative punch for paper
- Scissors
Method:
- Draw and cut out the upper part of the angel’s body in the middle of the paper tray according to the instructions above. You can use this template:
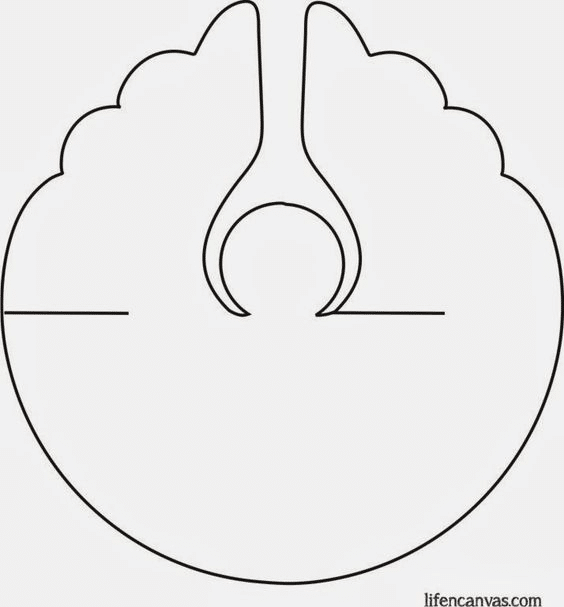
- Punch holes at regular intervals around the entire perimeter of the tray with a hole punch or punch.
- Now, it is necessary to create notches to connect the wings – on one side, cut the tray from the inside, and on the other, cut it from the outside (see picture).
- Insert the slits into each other so that the wings are behind the angel’s body.
- You can decorate the finished angel as you wish or use it as a name tag for the holiday table. In that case, stick a sign with the guest’s name on the front.
Shining Christmas Angels
If you are bored with ordinary lights in the windows or on the tree, try using the light chain a little differently this year.
Make an angel from a mason jar and place it on the window. The original glowing angel will light up the long winter evenings.
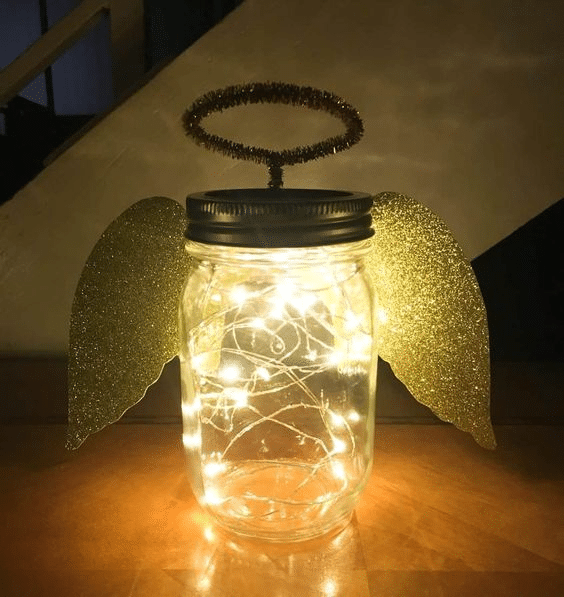
What you will need:
- mason jar with lid (according to the size of the light chain)
- light chain (ideally a battery-powered light)
- gold paper
- wire wrapped with gold bristles (buy at Creative Supplies)
- scissors, pencil, hot glue gun
Method:
- Outline the joined wings on gold paper and cut them out.
- Glue the wings in the mason jar with a hot melt gun.
- Make a circle from the bristle wire, connect the ends, and fold downwards (see picture).
- Glue the wire halo and the lid of the canning jar.
- Place the string of lights in the jar, turn on the light, and close the lid.
Angels with a warm white light chain will look best. If you choose a large mason jar, use a light chain with crochet balls.
If you want to create Christmas decorations in your style this year, we have perfect tips for you! DIY Christmas paper decorations – and you can involve your kids in creations, too!
Discover similar tips
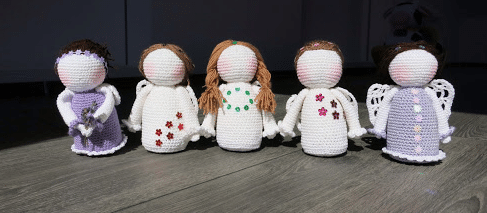
Crochet Angels
Let your crochet skills soar to new heights with the creation of beautiful Christmas angels!
Our tutorial will inspire you to bring joy and beauty to your loved ones with this stylish decoration or heartwarming gift.
What you will need:
- Hook in the size according to the selected yarn
- Yarn in two colors (the wider the thread, the bigger the angel)
- Scissors
- Needle to finish
- Bead for the head and buttons for decoration
Method:
Body:
- Magic Ring, chain 1, and make 10 SC in ring, join to first SC, chain 1
- 2 SC in each stitch around, join, chain 1 (20 SC)
- 2 SC in first stitch, SC in next, repeat around, join, chain 1 (30 SC)
- SC in each stitch around, join, chain 1 (30 SC)
- In back loops only, SC in each stitch around, join chain 1 (30 SC)
- SC in each stitch around, join, chain 1 (30 SC)
- SC Decrease, SC in next 8, repeat around, join, chain 1 (27 SC)
- SC in each stitch around, join, chain 1 (27 SC)
- SC in each stitch around, join, chain 1 (27 SC)
- SC Decrease, SC in next 7, repeat around, join, chain 1 (24 SC)
- SC in each stitch around, join, chain 1 (24 SC)
- SC in each stitch around, join, chain 1 (24 SC)
- SC Decrease, SC in next 6, repeat around, join, chain 1 (21 SC)
- SC in each stitch around, join, chain 1 (21 SC)
- SC in each stitch around, join, chain 1 (21 SC)
- SC Decrease, SC in next 5, repeat around, join, chain 1 (18 SC)
- SC in each stitch around, join, chain 1 (18 SC)
- SC in each stitch around, join, chain 1 (18 SC)
Head:
- Make the head as follows: Double each SDC (28 stitches).
- Double every other SC (42 stitches).
- Crochet 10 rows without change.
- Skip every eighth sc (35 stitches).
- Skip every seventh sc (30 stitches).
- Skip every sixth sc (25 stitches).
- Skip every fifth sc (20 stitches).
- Skip every fourth sc (15 stitches).
- While crocheting, gradually fill with hollow fiber filling.
- Skip every third sc (10 stitches).
- Skip every other sc (5 stitches).
- Skip each first sc.
- Close and exit.
Wings (crochet two):
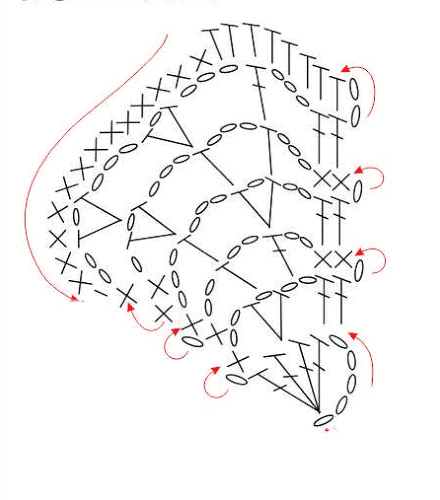
Sleeves (crochet two):
- Crochet in a spiral again.
- Crochet four sc into a ring.
- Double each sc (8 stitches).
- Double every other SC (12 stitches).
- Crochet 17 rows without increasing.
- Now, make the decorative edges of the sleeves: three long double crochets (DS) in one stitch and a single stitch in the next stitch. Repeat this, alternating three DCs in one stitch and a solid stitch in the next so that fans are formed.
Needles (crochet two):
- Crochet four chain stitches. Make 1 sc in the second stitch from the hook and 3 sc in the third stitch. Crochet from the other side of the chain, 1 sc, then 2 sc in the last stitch.
- Crochet all the way around, making five rows like this.
- In the last row, crochet everything together using solid stitches.
- Join the chain in the middle of the checkered hand and make 15 stitches.
- Then, pull this chain through the sleeve. With the remaining end of the yarn from the chain, you can directly sew the hands to the body.
Hair:
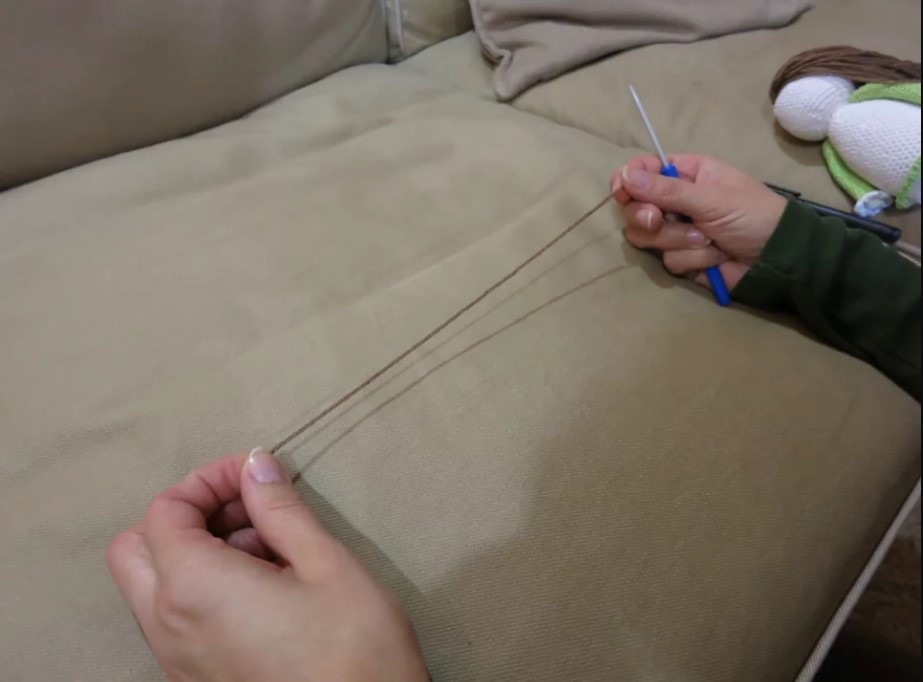
- Cut a whole handful of yarn to the desired “hairstyle” length. Better to choose longer hair that you can cut at any time.
- Fold each hair in half and then use the hook to pass under the threads on the head.
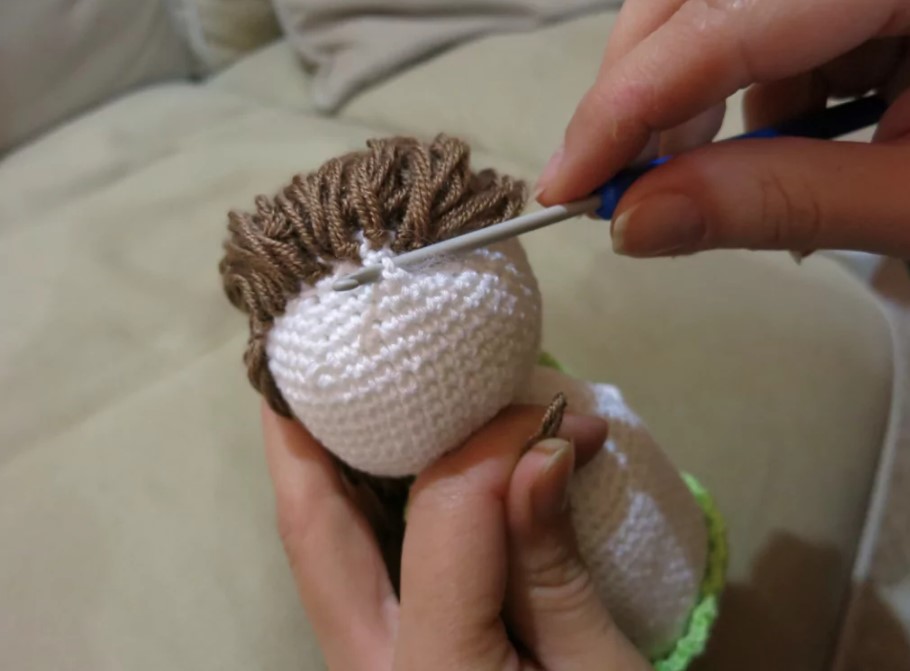
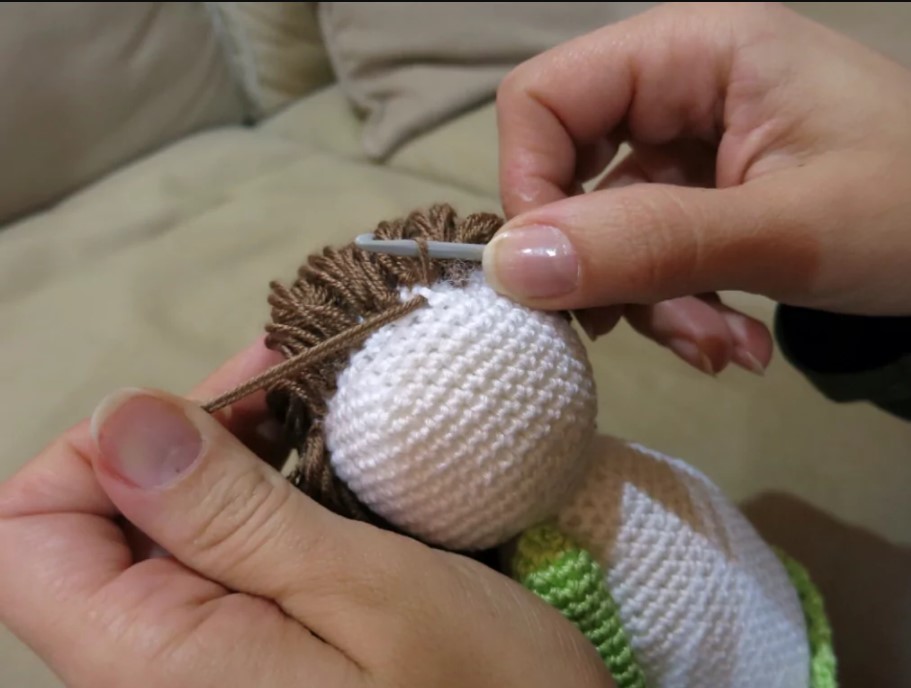
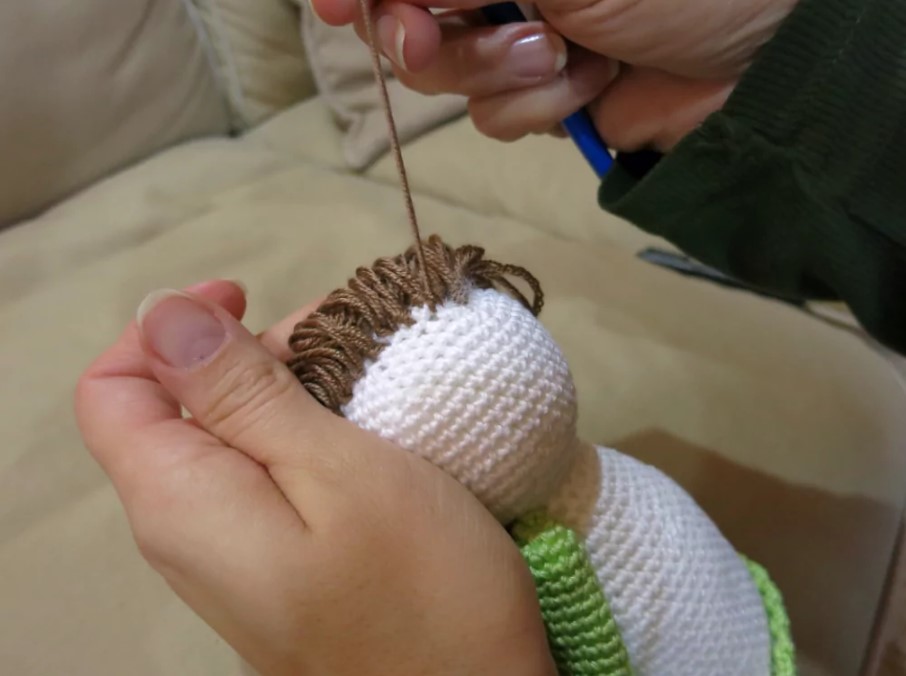
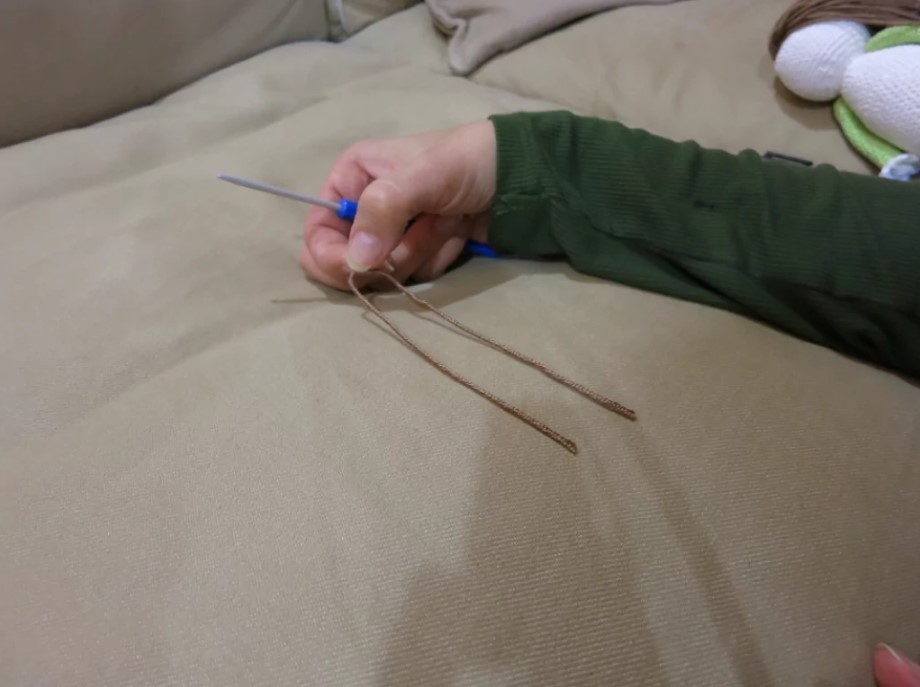
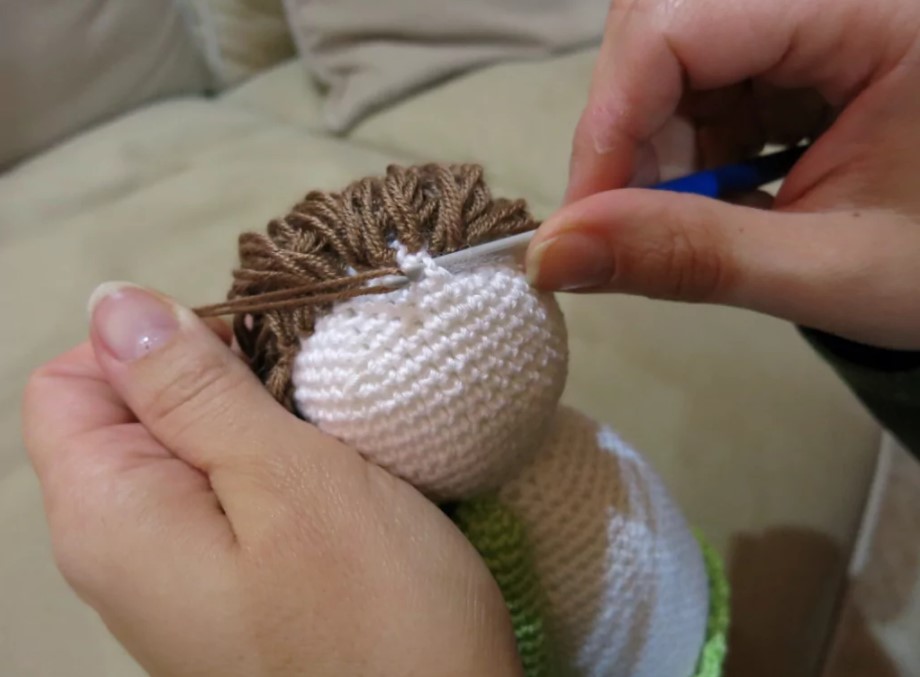
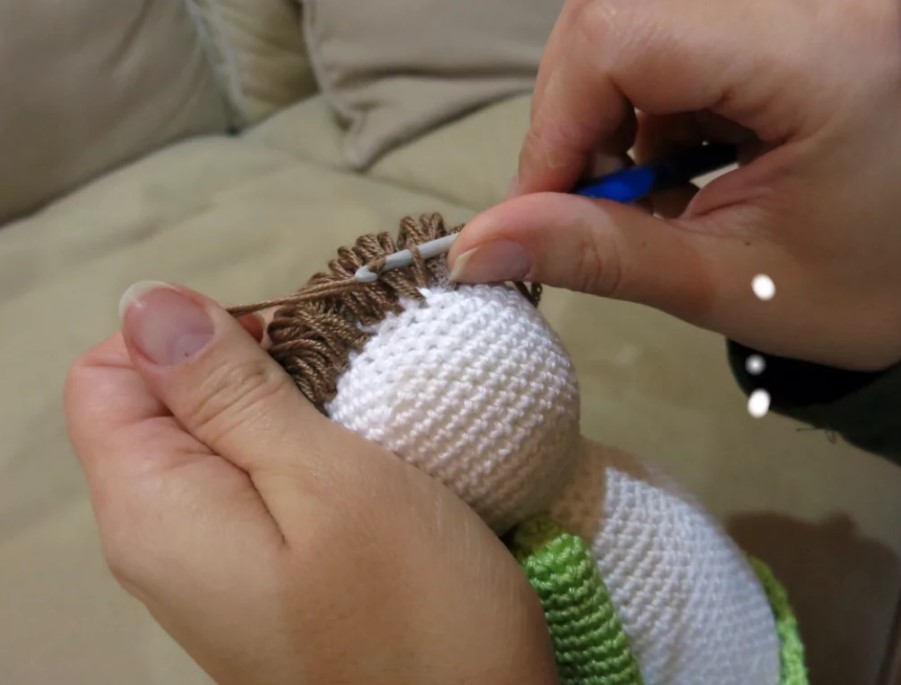
- Grab the hook at the point where the hair is split in half and pull through.
- Then, pick up both threads with the hook and pull them through the loop on the hook.
Tighten, and you’re done.
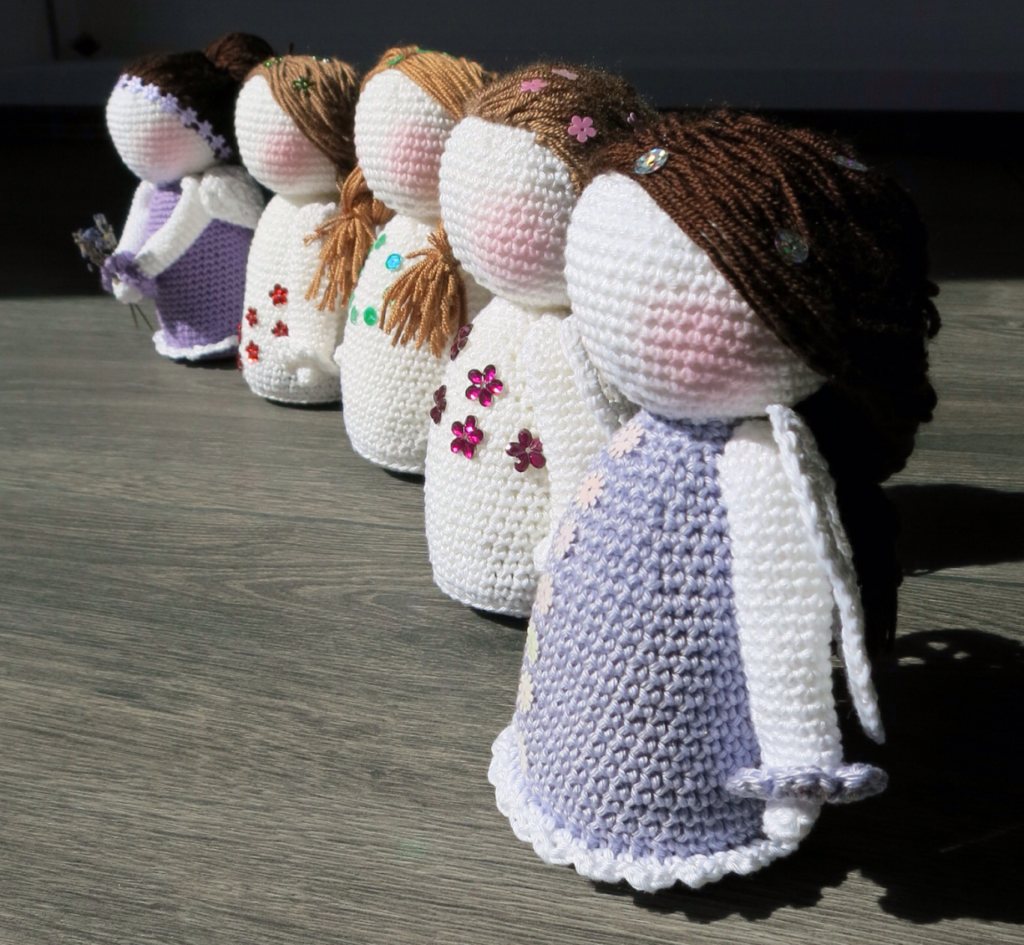
Place a few crocheted angels behind you near Bethlehem, and you will create magical scenery with angels during the Christmas pilgrimage.
Birch angel wings
Do you match your holiday decorations to a natural style?
The birch angel must be present in your apartment. You can bring birch bark from one of the winter walks, and the production will take only a few minutes.
You don’t have to have a house full of angels to create a Christmas atmosphere. Sometimes, it’s enough to hint the angel wings themselves also create magic.
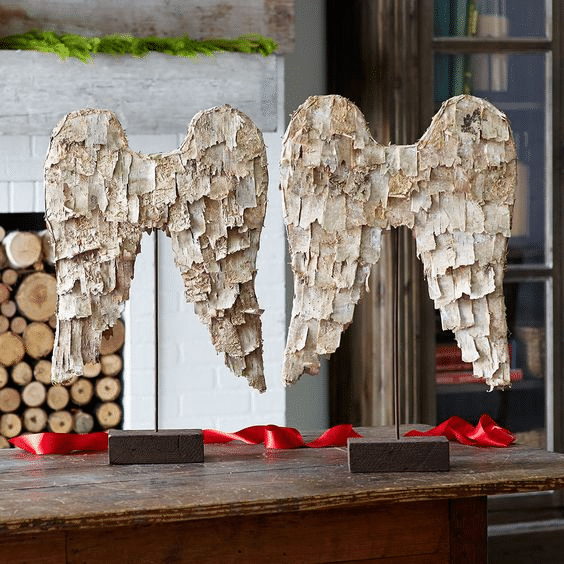
What you will need:
- Cardboard according to the size of the wings
- Pieces of birch bark
- Knife or sharp scissors
- Glue melt gun
- A pencil
Method:
- Outline two wings on the cardboard and cut them out.
- Cut strips of birch bark. On one edge, you can trim it decoratively into an arch.
- Glue the bark strips to the cardboard wings with a hot melt gun. Work from the bottom up so that the decorative edges overlap the straight ones.
- If you don’t have long enough pieces of bark, you can cut the bark into squares instead of strips. The result will look rustic.
Accessories for a festive evening
Fine-tune your angel style down to the last detail and complement your Christmas outfit with fashion accessories with an angel theme.
You can make simple earrings in a few minutes and dazzle with them at home and at a Christmas party.
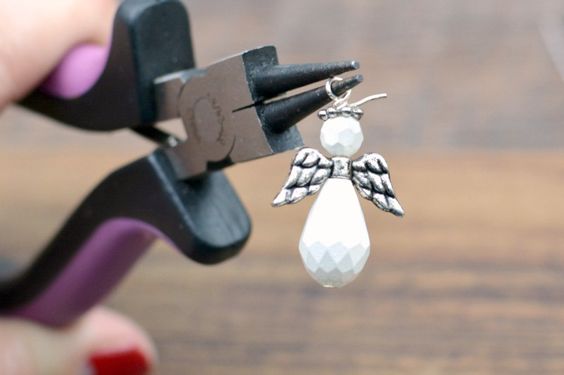
What you will need:
- Beads with a metallic finish (fake pearls) in pastel shades, two sizes of each color
- Wire with a flat end (purchased at Creative Supplies)
- A component in the shape of angel wings with a hole in the middle
- Component for hanging the earring in the ear (hook and eye)
- Crimping pliers and jeweler’s round pliers
Method:
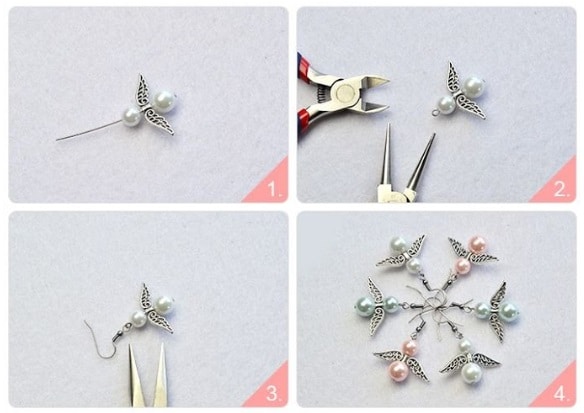
- First, string the body (large bead), the wings, and the head (smaller bead) onto the wire with the end.
- With the pliers, pinch the rest of the wire so that you have approx. 7 mm left on the earring to create an eyelet. Using round jewelry pliers, make an eyelet on the remaining wire.
- Thread the component for hanging in the ear onto the eyelet and pull the eyelet firmly with the pliers.
- Create the second earring in the same way. Don’t be afraid to try different colors; your imagination has no limits.
Beaded ornaments also look beautiful. You can find inspiration for Christmas decorations from beads in our article.

 Milan & Ondra


 Central Europe
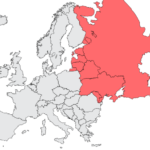 Eastern Europe
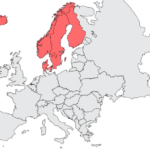 Northern Europe
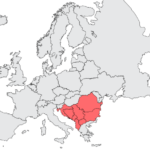 Southeast Europe
 Southern Europe
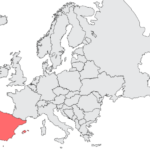 Southwestern Europe
 Western Europe