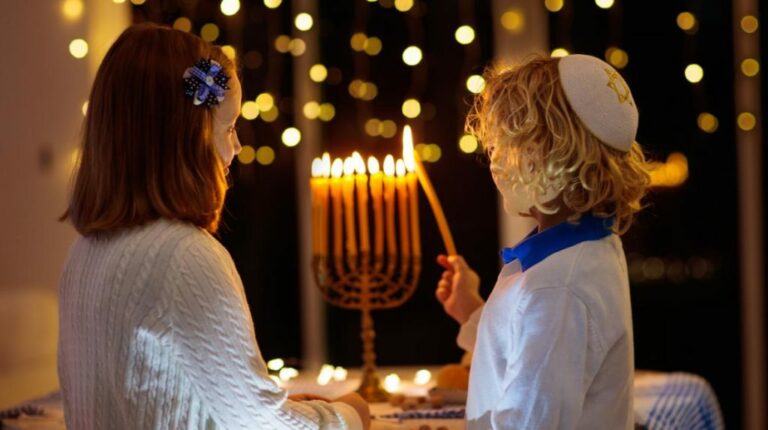
The nativity scene, a cherished centrepiece of Christmas decorations, holds a special place in our hearts. It beautifully encapsulates the essence of the holiday, commemorating the birth of Jesus Christ and reminding us of the joyous message of hope and peace.
Let’s delve into the fascinating world of nativity scenes, exploring their history and significance, and how you can create your own or experience the magic of public displays this Christmas season.
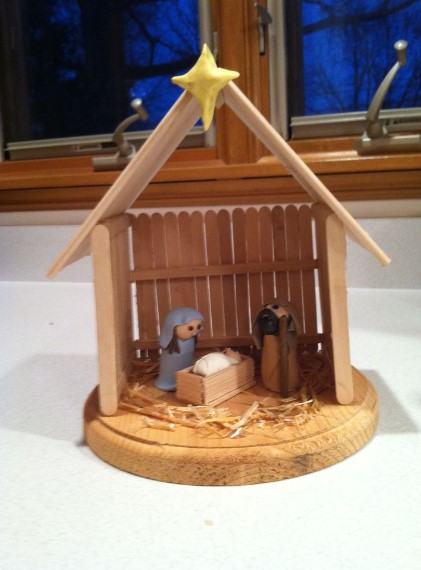
Nativity Scenes in Many Forms
A thoughtfully crafted nativity scene can transform your home into a haven of Christmas cheer, radiating warmth and comfort even on the coldest winter days.
If you enjoy the creative side of holiday preparations, you might find inspiration in crafting your own nativity scene. Imagine the joy of building a miniature Bethlehem out of wood or paper with your family. Even your pets can join in the fun, watching curiously as you bring this timeless story to life.
Crafting Your Own Nativity
Creating a homemade nativity scene can be a deeply rewarding experience, bringing your family closer together and infusing your home with a unique touch of Christmas spirit.
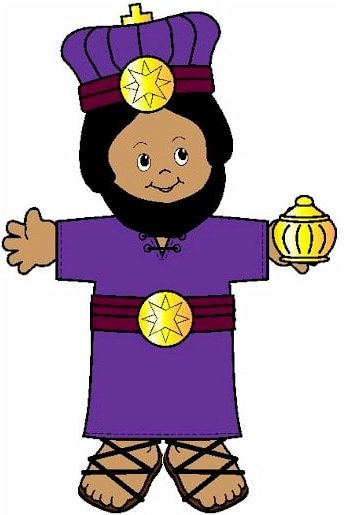
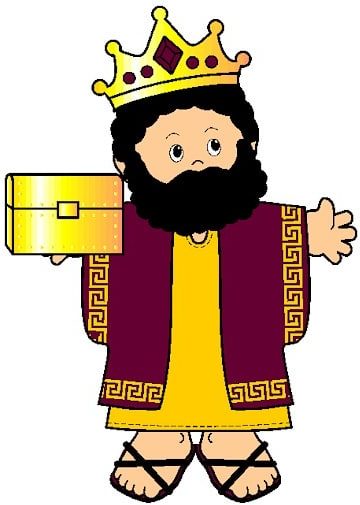
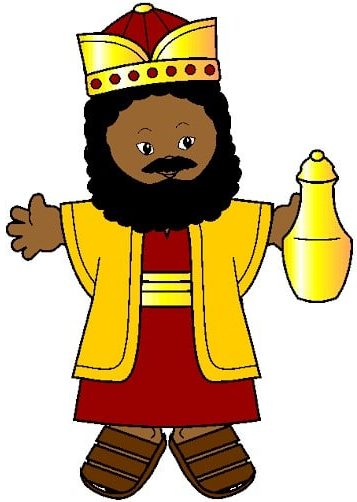
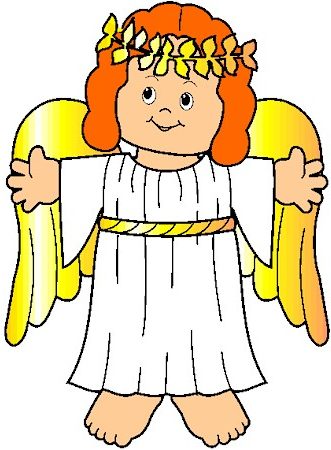
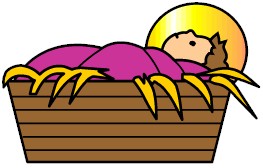
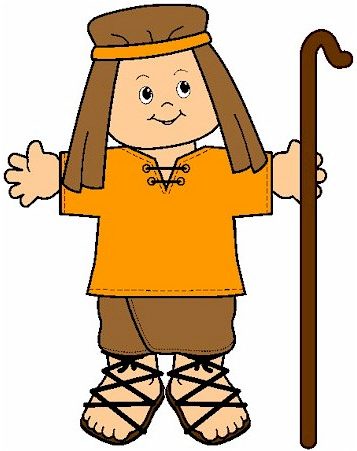
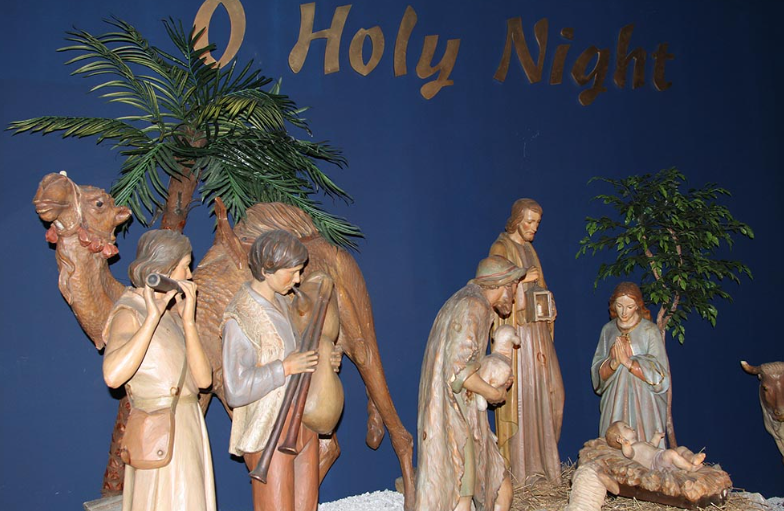
The figures you choose will depend on the type of scene you’re creating. Traditional Christmas nativity scenes depict the birth of Jesus, typically including Mary, Joseph, baby Jesus in the manger, the wise men bearing gifts, and various animals like sheep, donkeys, and oxen. An angel often graces the scene, proclaiming, “Glory to God in the highest.”
Whether you opt for a classic or more personalized approach, creating a nativity scene is a beautiful way to celebrate the true meaning of Christmas.
You can see our tips on how to craft your own nativity later in the text.
Exploring Public Nativity Displays
If crafting isn’t your forte, there are countless opportunities to admire the artistry and craftsmanship of public nativity scenes. Many churches, community centers, and even botanical gardens host elaborate displays during the holiday season.
These exhibits often feature intricate details, unique materials, and cultural interpretations, offering a fascinating glimpse into how people worldwide celebrate Jesus’s birth.
Let the nativity scene inspire you to embrace the season’s spirit this Christmas. Whether you choose to create your own or admire the work of others, this timeless symbol serves as a beautiful reminder of the hope, peace, and love that Christmas represents.
If you don’t feel like crafting the nativity scene at home, you can buy one at some Christmas markets! Families can enjoy the festive atmosphere at these Christmas markets in the U.S. from November through the holiday season. These popular holiday events feature beautifully decorated vendor booths, mulled wine, local and international arts and crafts, holiday foods, twinkling lights, glass ornaments, handmade gifts and toys, and more.
Nativity Scenes: A Closer Look at this Cherished Christmas Tradition
Nativity scenes, or crèches, hold a special place in the hearts of many during the Christmas season. These beautiful displays serve as a visual reminder of the birth of Jesus Christ and the profound message of hope and love it represents.
But did you know there are various nativity scenes, each with its unique purpose and symbolism? Let’s explore the different kinds of nativity scenes and how you can bring this beloved tradition into your home.
Types of Nativity Scenes
- Christmas Nativity: The most common type, focusing on the birth of Jesus and often including Mary, Joseph, baby Jesus, shepherds, angels, and wise men.
- Passion Nativity: This type depicts scenes from Jesus’ life, including his crucifixion and resurrection.
- Secular Nativity: These scenes may include elements of the Christmas story but often focus more on the general themes of peace, joy, and family togetherness.
Key Figures and Symbolism
At the heart of every nativity scene lies the Holy Family: Mary, Joseph, and baby Jesus resting in a manger. The wise men, or Magi, who followed the star to Bethlehem, are also prominent figures, often depicted bearing gifts of gold, frankincense, and myrrh. These gifts symbolize Jesus’s kingship, divinity, and suffering, respectively.
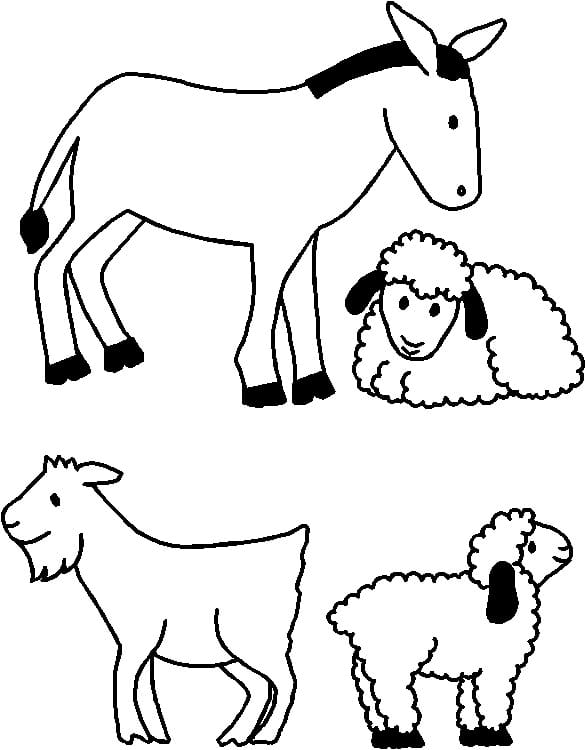
Animals, too, play a significant role in the nativity scene. Donkeys, camels, oxen, and sheep are commonly included, representing the humble setting of Jesus’s birth and the connection to the natural world.
Finally, an angel often appears above the scene, proclaiming, “Glory to God in the highest,” a reminder of the event’s divine significance.
Creating Your Own Nativity
Bringing the nativity story to life in your home can be a fun and meaningful family activity. Here are some ideas:
- Wooden Nativity with Cardboard Figures: This simple project is perfect for children. Craft a wooden stable and decorate it with cardboard cutouts of the nativity figures. Let your kids’ imaginations run wild as they personalize their creations!
- Paper Nativity: Cut out figures from colourful paper or cardstock and arrange them on a tabletop or mantelpiece.
- Natural Materials Nativity: Use natural elements like pinecones, twigs, and moss to create a rustic and charming nativity scene.
No matter how you choose to celebrate, let the nativity scene remind you of the true meaning of Christmas. May it inspire you to embrace the spirit of giving, compassion, and love this holiday season and beyond.
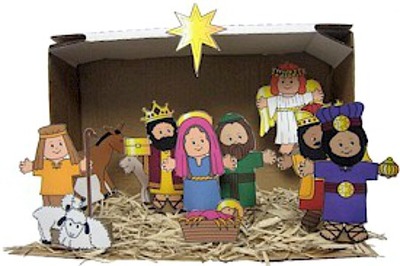
DIY Cardboard Nativity scene
Bring the Christmas story to life with a charming DIY cardboard nativity scene! This simple and creative project is perfect for families to enjoy together, sparking imagination and spreading holiday cheer. With just a few basic materials and a dash of creativity,
What you’ll need:
- Cardboard (various sizes and thicknesses)
- Scissors or a craft knife
- Markers, crayons, or paint
- Glue or tape
- Optional: glitter, fabric scraps, or other decorative elements
Let’s get crafting!
- Design your scene: Sketch out your desired nativity scene on paper or directly onto the cardboard. Consider including traditional figures like Mary, Joseph, baby Jesus, shepherds, angels, and wise men, as well as animals like sheep, donkeys, and oxen.
- Cut out the figures: Carefully cut out the figures from the cardboard using scissors or a craft knife. For younger children, adult supervision is recommended.
- Decorate and assemble: Let your creativity shine as you decorate the figures with markers, crayons, paint, or any other embellishments you like. Once dry, assemble your nativity scene on a tabletop, mantelpiece, or any other special spot in your home.
Tips for a magical touch:
- Add a starry background: Paint a night sky backdrop with twinkling stars for a touch of celestial wonder.
- Create a 3D stable: Use cardboard boxes or folded cardboard to construct a simple stable for the Holy Family.
- Incorporate natural elements: Add sprigs of evergreen, pinecones, or moss to create a rustic and natural setting.
The Joy of Shared Creation
Creating a DIY cardboard nativity scene is more than just a craft project; it’s an opportunity to connect with your loved ones and share the true meaning of Christmas. As you work together, discuss the story of Jesus’s birth and the values it represents. This shared experience will create lasting memories and bring warmth and joy to your holiday celebrations.
You can also buy wooden figures in crafting shops – they are raw, wooden figures and it’s up to you to complete them:
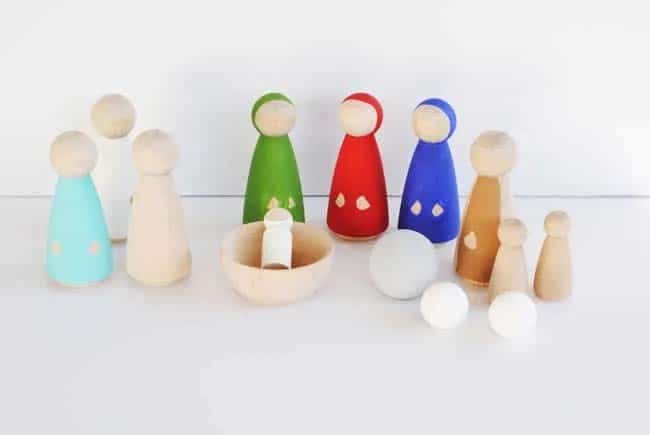
diycandy.com
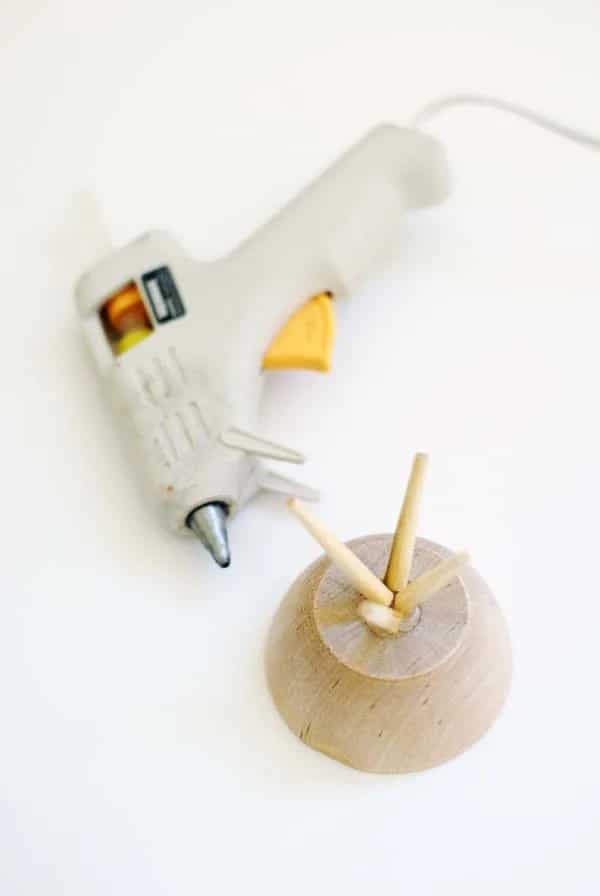
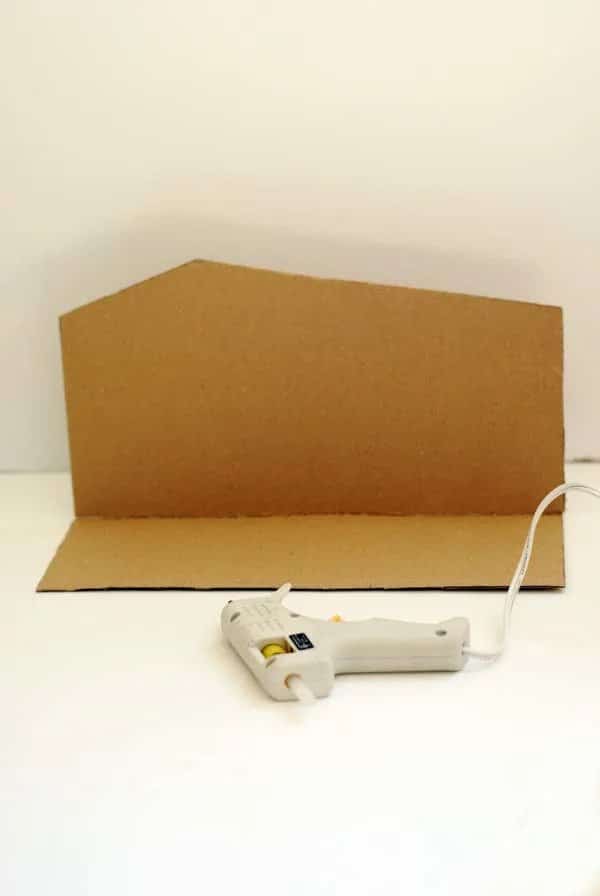
Rustic nativity figures
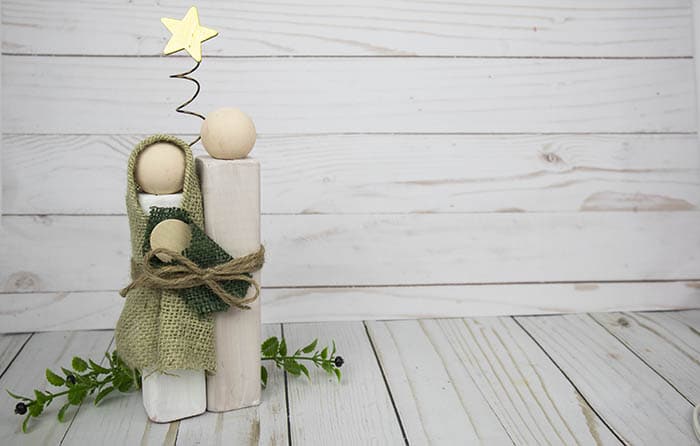
What you’ll need:
- approx. 1.6×1.6 inch prism cut into lengths of 5.5 inches and 6.1 inches
- 2 wooden balls with a diameter of 1.2 inches
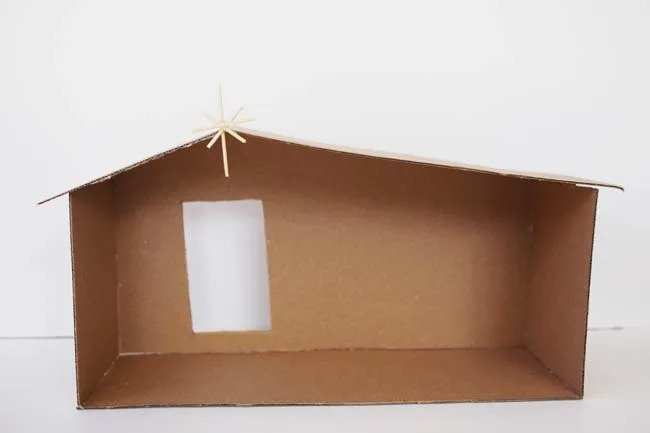
- 11.8 inch gold wire wooden star (gold, silver or bronze)
- burlap in two different shades colors (white and flesh)
- hot glue gun
- natural string fine sandpaper
- craft stick
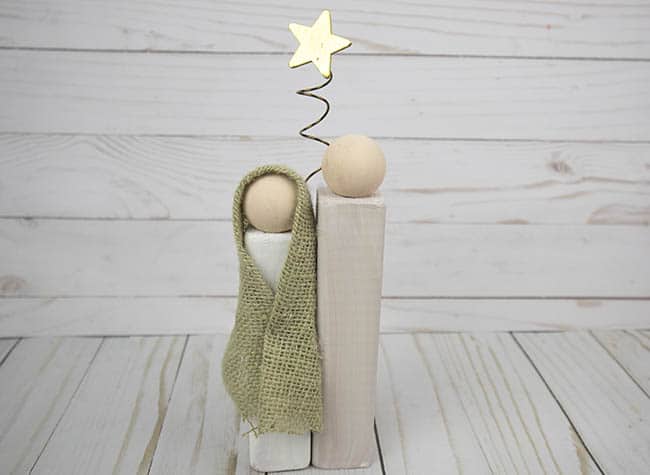

Method:
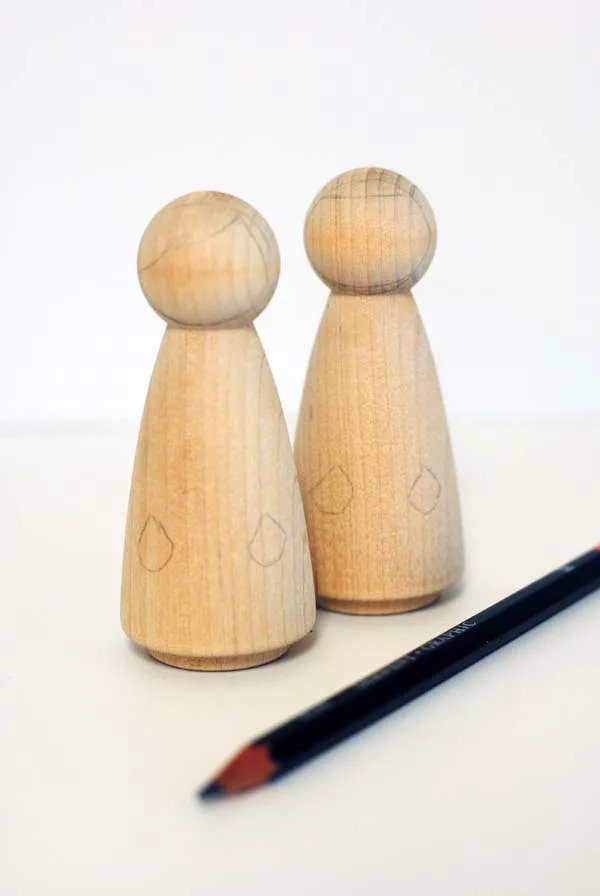
- First, cut the prisms and grind them smooth.
- Then color them. Paint the higher prism beige, and the lower prism white.
- Subsequently, color also the balls with flesh color.
- Welde the balls to the prisms.
- Cut out a robe from burlap and wrap the figure of Mary in it. Attach with a hot melt gun.
- Wrap the wire around a thick marker and attach a star to its end using a hot melt gun.
- Now, fuse the figures of Maria and Joseph together. Insert a wire between them.
- Make a Baby Jesus from a piece of spatula, which you wrap in a piece of burlap and fuse.
- Then glue the baby Jesus in the arms of Mary and Joseph.
- Finally, wrap them all with a natural twine.
Carved nativity scene
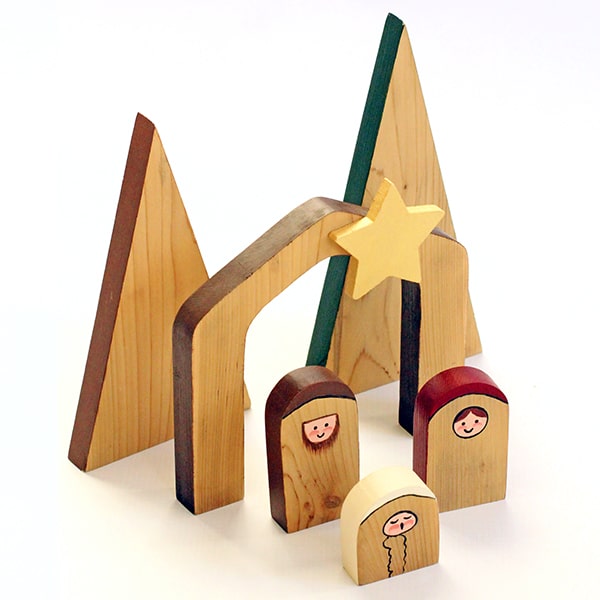
What you’ll need:
- pine or cedar wood with a thickness of approximately 0.5 inches
- 1/8 inch plywood to make a star
- the band saw or circular saw
- sandpaper
- acrylic colors of your choice – (dark green, brown, dark red, cream, pink, gold)
- brushes including detail brushes
- surface varnish
- hot glue gun
Method:
Mark and Cut:
- Use the template to mark the shapes on the wood and plywood.
- Cut out the shapes using a band saw or circular saw.
Smooth Edges:
- Sand the rough edges of the cutouts using sandpaper.
Paint Characters:
- Paint the faces and scarves of the characters.
Paint Star and Details:
- Paint the star with gold paint.
- Paint the sides of the trees and the house.
Attach Star:
- Once the paint is dry, attach the star to the designated spot using a hot glue gun.
Apply Varnish:
Finish by applying a surface transparent varnish to protect the paint and enhance the overall look.
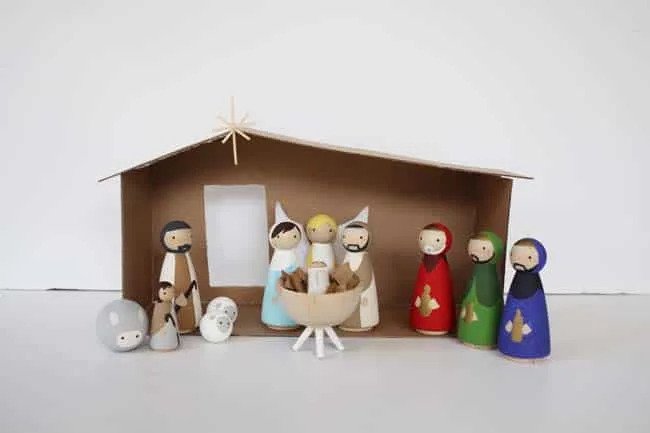
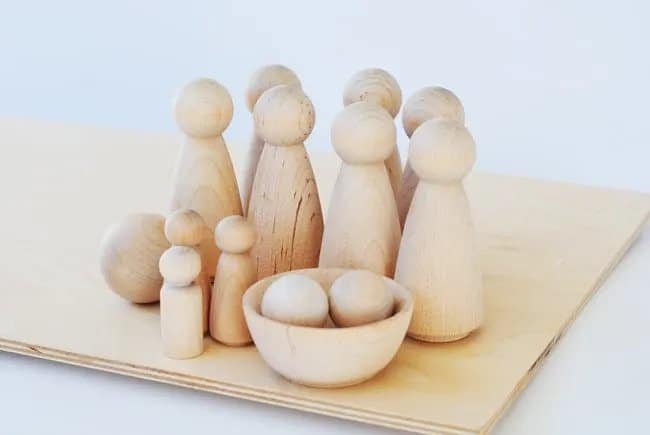
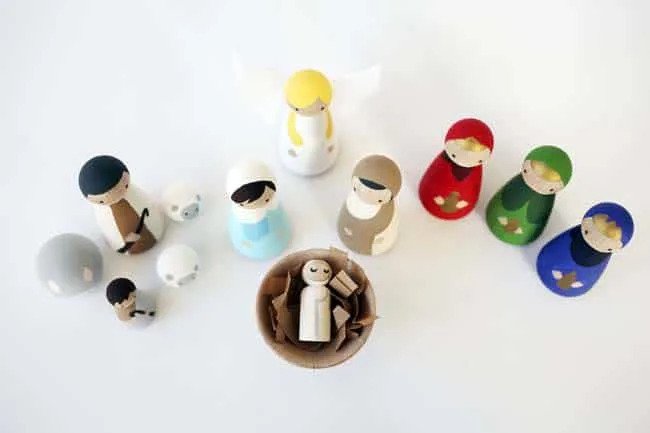
Paper nativity scene with wooden characters
What you’ll need:
- scraps of fabric (cotton, burlap, or wide ribbon)
- wooden figurines (7 larger ones, 1 small one for Santa)
- melt gun
- strings
- box or wood for an outbuilding
Method:
Figures:
- Mary:
- Create Mary’s dress from one type of fabric and her head covering from another.
- Attach both pieces using a hot glue gun.
- Decorate the dress with string.
- Joseph and Shepherd:
- Follow the same process as with Mary, using two different fabrics for each figure.
- Optionally, create a staff for the shepherd using a piece of wrapping paper.
- Baby Jesus:
- Wrap the baby Jesus figure in a swaddling cloth and a piece of burlap.
- Angel:
- Dress the angel in soft-coloured fabric.
- Attach a piece of gold string to the angel’s head.
- Create wings from a white bow and attach them.
- Three Kings:
- Create unique headdresses for each of the three kings.
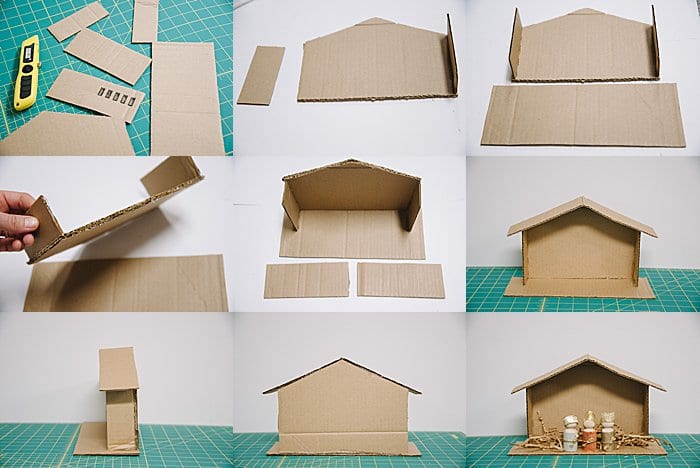
Stable:
- Base:
- Cut a rectangular base from cardboard measuring approximately 4×10 inches.
- Roof:
- Cut two identical rectangles from cardboard with dimensions of approximately 2.4×5.5 inches for the roof.
- Sides:
- Cut two rectangles from cardboard measuring approximately 1.6×4.3 inches for the sides.
- Back Wall:
- Cut a rectangle from cardboard measuring approximately 4.3×8.7 inches for the back wall.
- Attach the back wall to the roof so that the height of the stable in the middle is approximately 6.3 inches.
- Assembly:
- Connect all the parts of the stable using a hot glue gun.
Final Touches:
- Decorate:
- Arrange the figures inside and around the stable.
- Add a small amount of hay for authenticity.
Decorate:
Arrange the figures inside and around the stable.
A video tutorial can also help you:

Discover similar tips

 Milan & Ondra
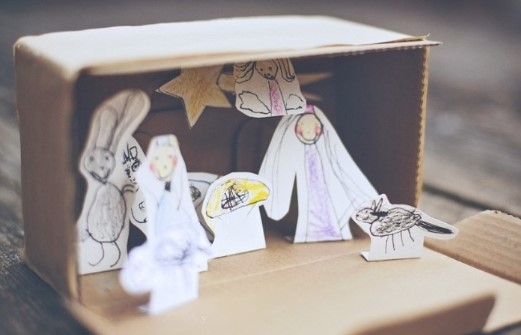
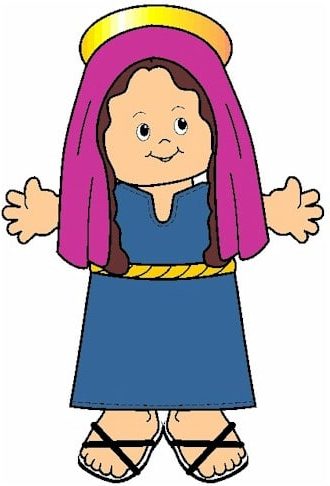
A Simple Cutout Nativity Scene: Perfect for Little Hands
Crafting a paper nativity scene is a fun and easy way to bring the Christmas story to life!
Download our adorable nativity scene printables, then let your little ones’ creativity shine as they color and cut out the figures.
For an extra touch of realism, use a cardboard box as a stable and fill it with soft hay or shredded paper. Your children will love arranging the characters and animals, retelling the story of Jesus’s birth, and learning about the true meaning of Christmas.
This simple activity is a wonderful way to spark imagination, foster family bonding, and create cherished holiday memories.
Extra tips for making your DIY nativity even more special:
- Get creative with decorations: Use glitter, stickers, or other craft supplies to add sparkle and personality to your scene.
- Incorporate natural elements: Gather some pinecones, twigs, or moss to create a natural backdrop for your nativity.
- Make it interactive: Encourage your children to act out the nativity story using the figures they’ve created.
Remember, the most important part is to have fun and share the joy of the season with your loved ones!
Mary:
Joseph:

Three Kings:
Angel:

Baby Jesus:
Shepherd:
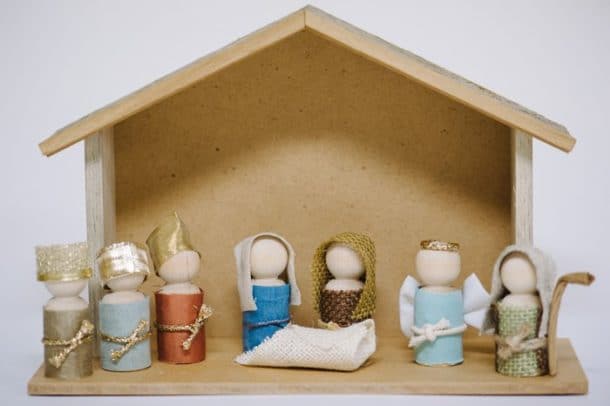
Upcycled Charm: Crafting Nativity Figures from Toilet Paper Rolls
Give Cardboard Tubes a Second Life: Upcycle them into a charming Nativity Scene this Christmas! You have a perfect project for creative kids.
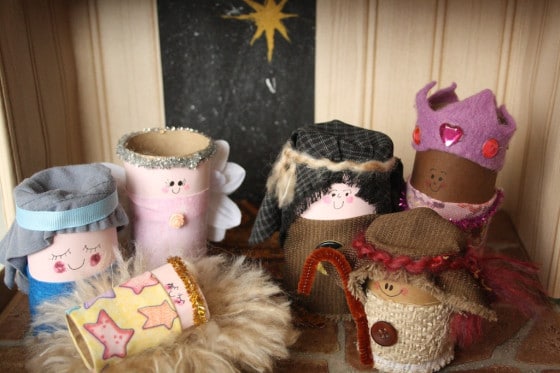
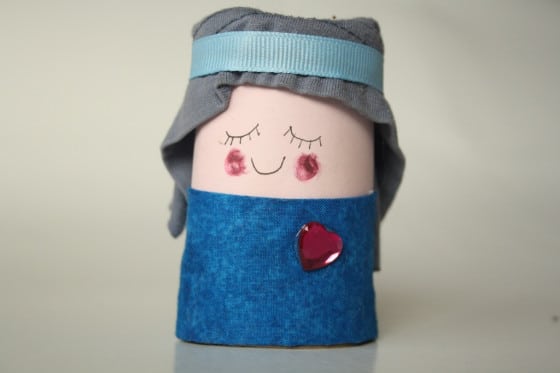


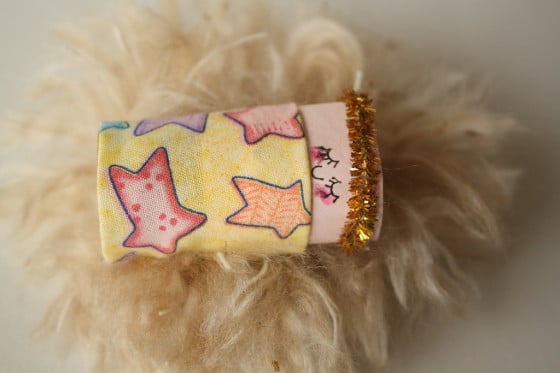
What you’ll need:
- melt gun
- toilet paper rolls (6 pcs.)
- coloured paper (flesh and brown)
- scraps of fabric
- a piece of felt
- rubber band
- string or piece of wool
- buttons and other small decorations
- thin wire for shepherd’s staff
- artificial flower for angel wings
- markers
- crayons
- a piece of sheep’s fleece
- paper box
Method:
- Let’s begin the production of Mary, Joseph, and Baby Jesus.
- Cut a piece from one paper roll to create a Maria (she should be a bit smaller than Joseph).
- Then, make a Baby Jesus by cutting the roll to roughly half the size.
- Cut the roll along the entire length, narrow it as needed, and glue it with a hot melt gun.
- Cut the body-coloured paper and glue it to the middle of the body for each of the characters.
- Create a halo for Jesus from a piece of thin wire. Attach to the upper edge of the roll with a hot melt gun.
- Cut rectangles from all the materials available, and make clothes for each of the characters.
- Cut also a head covering for Joseph and the two kings from pieces of fabric.
- Fasten them to the roll with a piece of elastic, and hide it under a string or braid and fuse.
- Make a felt crown for the king (make the king from the brown paper roll, if you have it). Decorate it with colored stones.
- Make an angel out of soft colors. Glue a thin wire to the top edge of the roll. Make the wings from white artificial flower petals.
- Make a walking stick for the shepherd, using the thin wire.
- Finally, draw the eyes, mouth, and nose of all the characters.
Nativity figures from flower pots
Another creative idea for DIY Nativity scenes and figures. Will you try it?
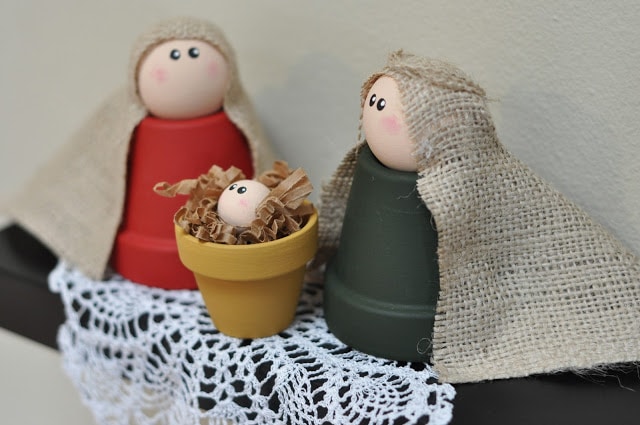
What you’ll need:
- 2 flower pots with a diameter of approximately 4 inches
- 1 flowerpot with a diameter of approximately 2.4 inches
- 2x wooden balls with a diameter of 3.15 inches
- 1x wooden ball with a diameter of 1.57 inches
- blue, red, black, white, pink, and yellow acrylic paint
- brush
- hot glue gun
- a piece of burlap
- natural string
- paper bag
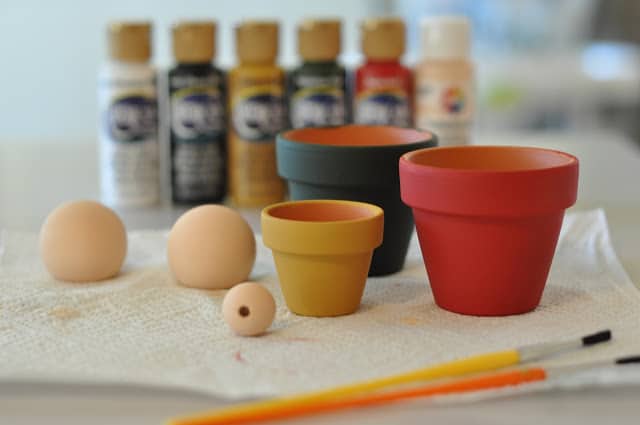
Method:
- Paint the larger flowerpots green and red.
- Color the small flowerpot yellow.
- Make eyes and faces on the wooden balls.
- Then, stick the big balls on the bottom of the big flowerpots.
- Cover the heads of the figures with a piece of burlap. Fuse them.
- Make a headband for Joseph from a piece of natural string and fuse it again.
- Line the small flowerpot with a paper bag and place the head of Jesus on top.
Finding the Perfect Spot for Your Nativity Scene: Tips for a Festive Display
The placement of your nativity scene can truly elevate its beauty and significance during the Christmas season. While the ideal location ultimately depends on your home and personal preferences, here are some ideas to inspire your festive display:
- Centrepiece in the Living Room: The living room, often the heart of the home, is a natural choice for showcasing your nativity scene. Position it on a coffee table, mantelpiece, or side table, where it can be admired by family and guests alike.
- Under the Christmas Tree: Nestled beneath the twinkling lights of your Christmas tree, the nativity scene becomes an integral part of your holiday décor. This placement highlights the true meaning of Christmas amidst the festive cheer.
- Window Display: Share the joy of the season with your neighborhood by placing your nativity scene in a window. Opt for a narrower model with some height, and consider adding LED lights for a magical glow that can be enjoyed both inside and out. Hanging glass nativity scenes can also create a captivating display.
- Hallway Welcome: Greet guests with the spirit of Christmas by placing your nativity scene in your entryway or hallway. It sets a warm and inviting tone as people enter your home.
- Children’s Room: Create a sense of wonder and excitement in your children’s room by placing a child-friendly nativity scene on a dresser or shelf. They’ll love interacting with the figures and retelling the Christmas story.
Remember, the best location is one where your nativity scene can be easily seen and appreciated.
So, take a look around your home and find the perfect spot to showcase this cherished symbol of Christmas.
Additional Tips:
- Lighting: Consider adding soft lighting to highlight your nativity scene, creating a warm and inviting ambiance.
- Decorative Touches: Surround your nativity with greenery, candles, or other festive accents to enhance its beauty.
- Interactive Elements: If you have young children, choose a nativity scene with durable figures they can rearrange.
No matter where you choose to display it, your nativity scene is sure to bring a touch of Christmas magic to your home.
Are you looking for a unique and chic way to decorate your home this Christmas? Create Festive Christmas Decorations Using Materials from the Forrest in Just Minutes!
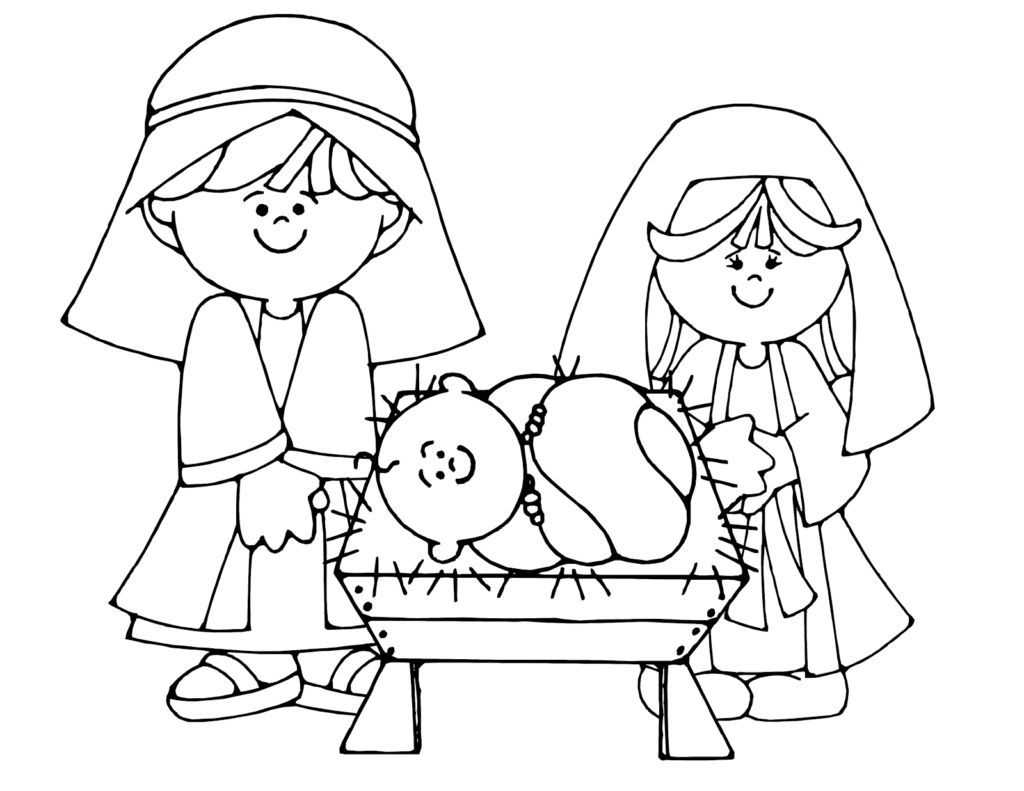
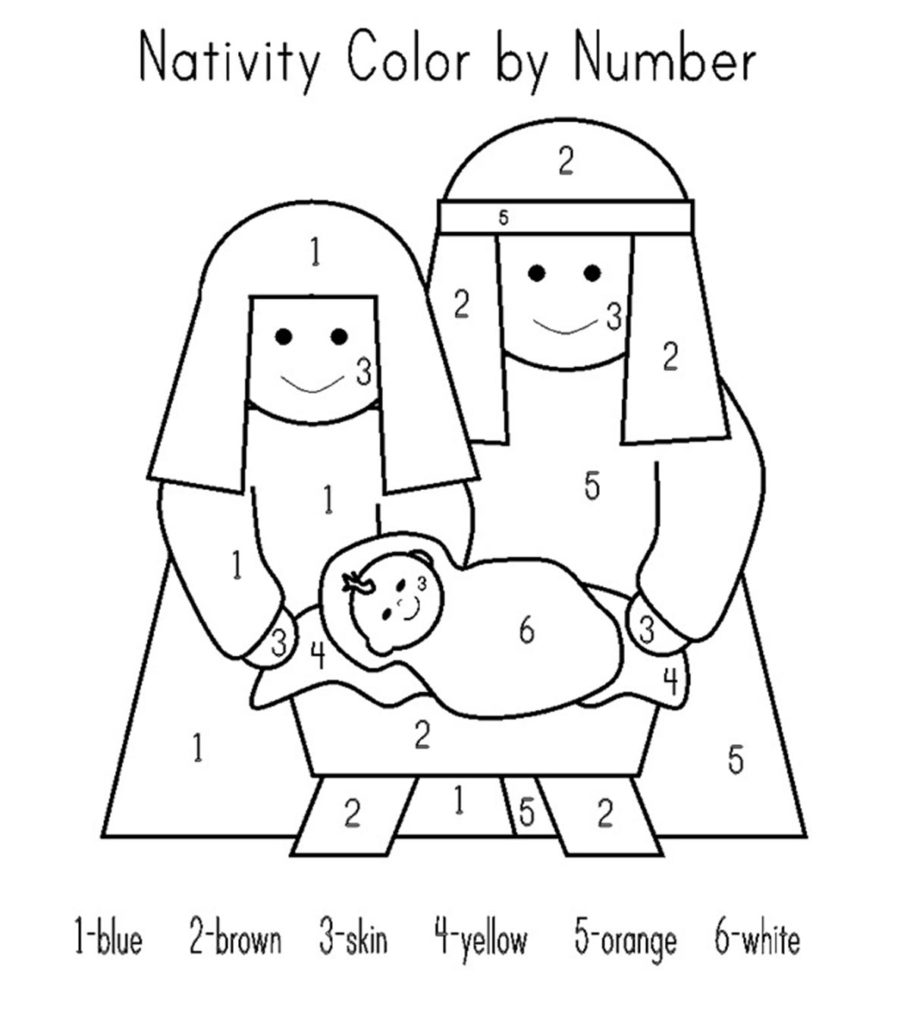
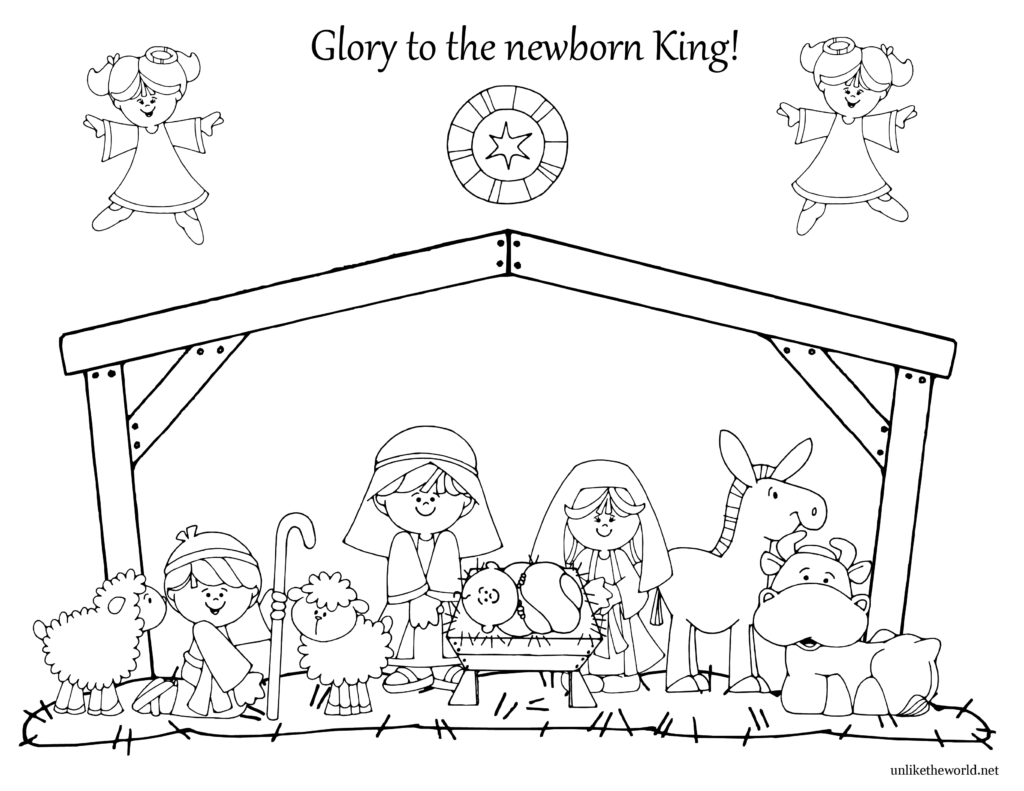
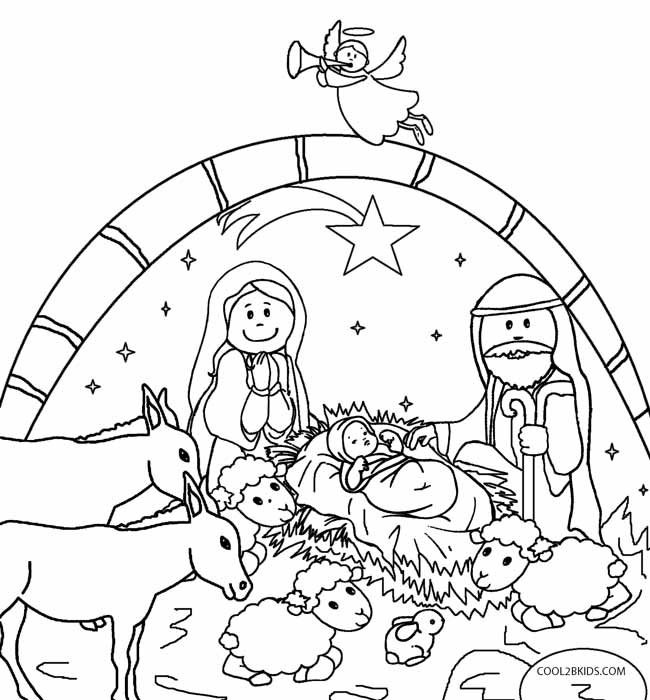
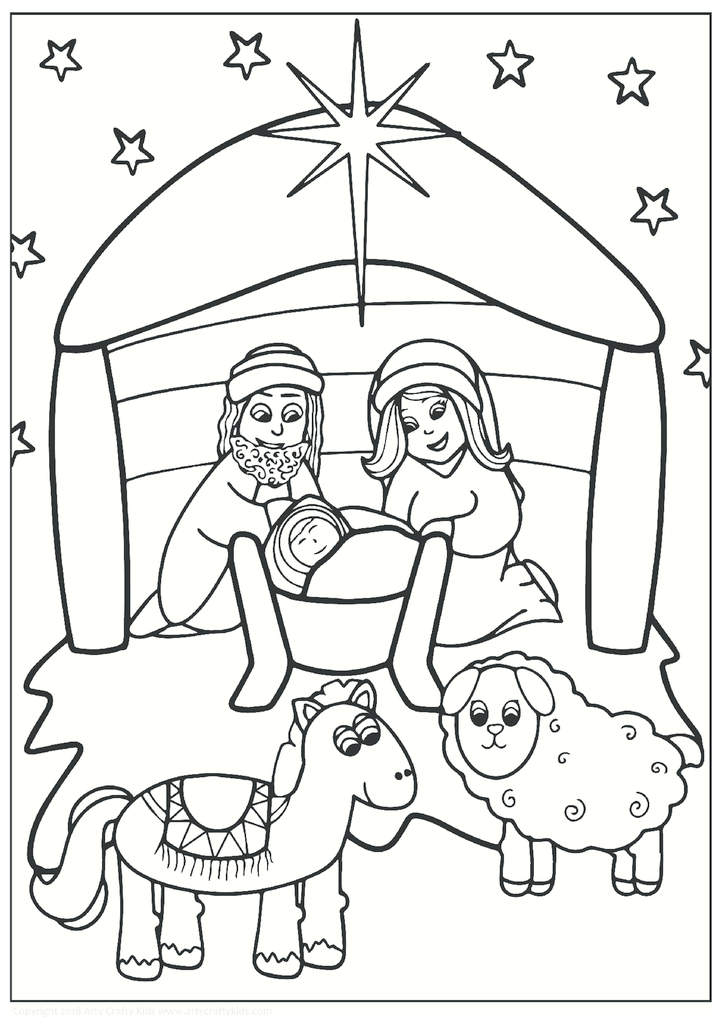
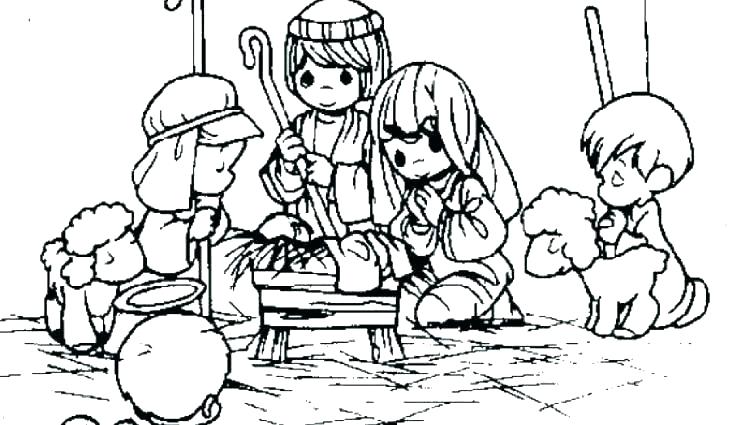
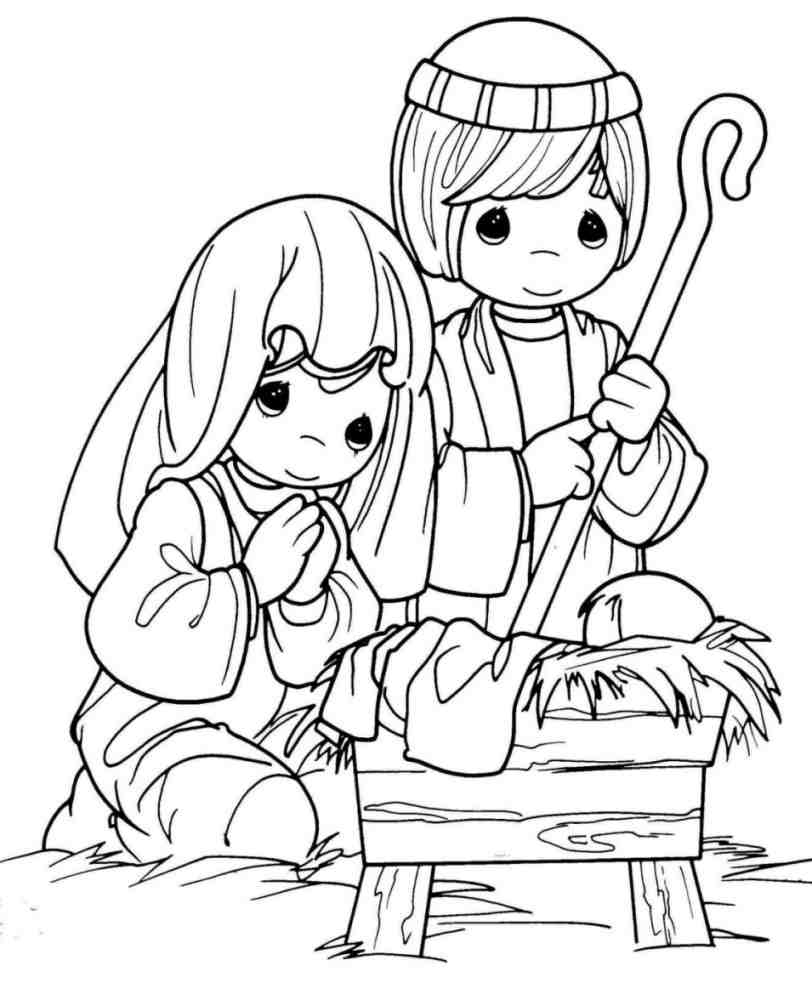
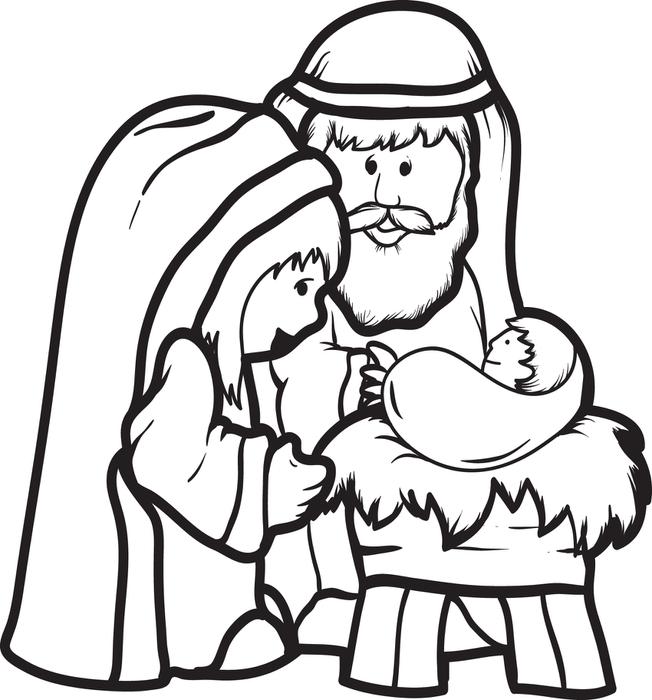
Nativity coloring pages for children


Where to See Nativity Sets Year-Around in America
While nativity scenes are synonymous with the Christmas season, these beautiful displays can be appreciated throughout the year.
Here are a couple of places in the US where you can immerse yourself in the spirit of the Nativity year-round:
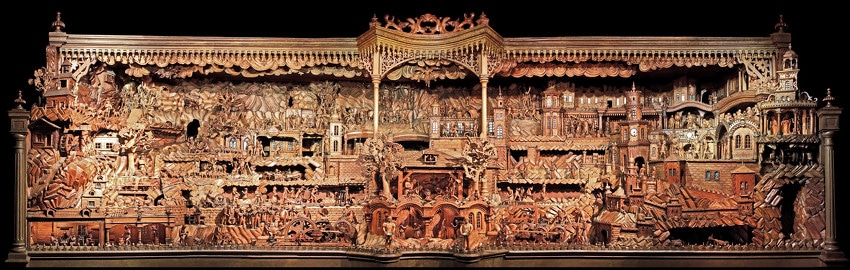
The University of Dayton: Home to one of the largest collections of crèches in the country, the University of Dayton in Ohio boasts over 3,500 nativity sets representing over 100 countries. This diverse collection showcases how different cultures envision the birth of Christ, offering a unique and inspiring experience.
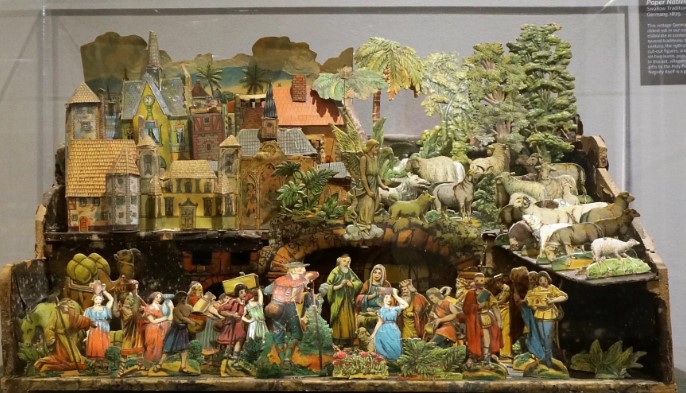
“Bethlehem in Denton County” in Krum, Texas: Judy Klein’s private collection of over 1,800 crèches is a testament to her passion for this art form. Representing a wide range of styles and cultures, the collection features everything from six-foot-tall masterpieces to delicate tabletop sets.
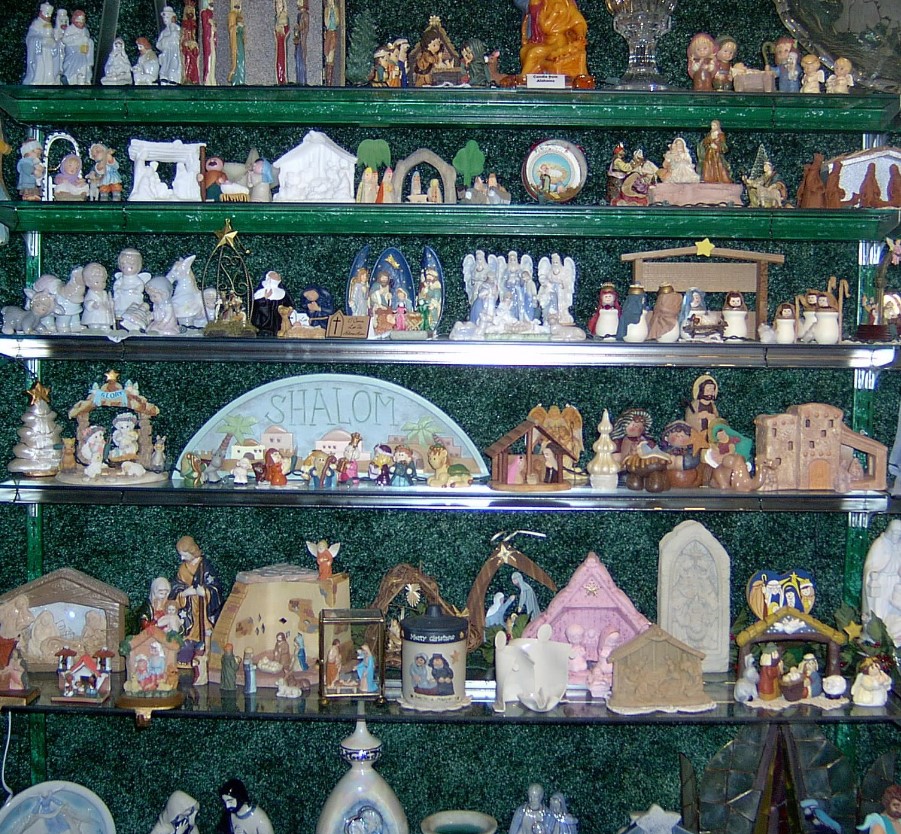
National Christmas Center, Pennsylvania: The early winter season is your last opportunity to visit the National Christmas Center in Pennsylvania Dutch Country. The long-time family attraction is closing its doors on January 7. In addition to its other Christmas exhibits, the museum offers a collection of nativity sets from different eras and from different countries. You can sit and relax while looking at a diorama combining several crèche elements and listening to a biblical recording of the First Christmas.
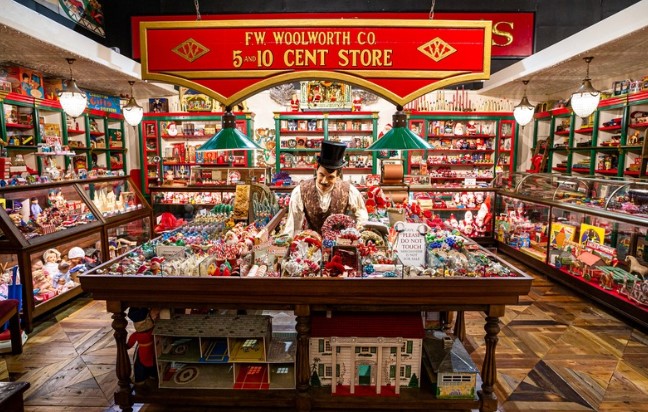
“The Incredible Christmas Place”, Tennessee: Billed as “the South’s largest Christmas shopping village,” the Incredible Christmas Place is located in the foothills of the Smoky Mountains. From ornate to simple, from ceramic to wooden, from realistic to representational, this huge retailer displays and sells a wide variety of nativity sets. Founded as a small business in 1986 by Hurshel and Marian Biggs, the unique holiday shopping village has grown to include 43,000 square feet of shopping space.
These are just a couple of examples; many other churches, museums, and private collections across the US offer opportunities to experience the beauty and significance of nativity scenes throughout the year. So, whether you’re seeking a moment of quiet reflection or simply want to admire the artistry of these displays, consider visiting one of these locations to deepen your appreciation for this cherished Christmas tradition.
 Recipes
 Sweet Recipes
 Savory recipes
 Inspiration
 Decorations DIY
 Traditions & inspiration
 Christmas in Europe
 Christmas in the world
 Wishes
 Christmas wishes
 New Year wishes
 Christmas markets in Europe
 Central Europe
 Eastern Europe
 Northern Europe
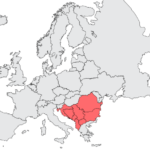 Southeast Europe
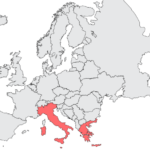 Southern Europe
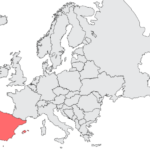 Southwestern Europe
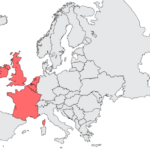 Western Europe