Gift your loved ones with a handmade Christmas card. Making a Christmas card is easy.
The best thing is that you can also employ children who will be excited about the creative activity.
Don’t know how to do it? Come and look at our tutorials, which everyone can do with us.
Making a Christmas card with your kids
Are you uncertain about how to keep children entertained at home?
Consider creating a Christmas card together. Aim for a cheerful, creative card that children can make and enjoy.
Feel free to incorporate your children’s favorite motifs into the design. What are your children most excited about?
Is it the tree with gifts? If so, fulfill their request. Let’s get started!
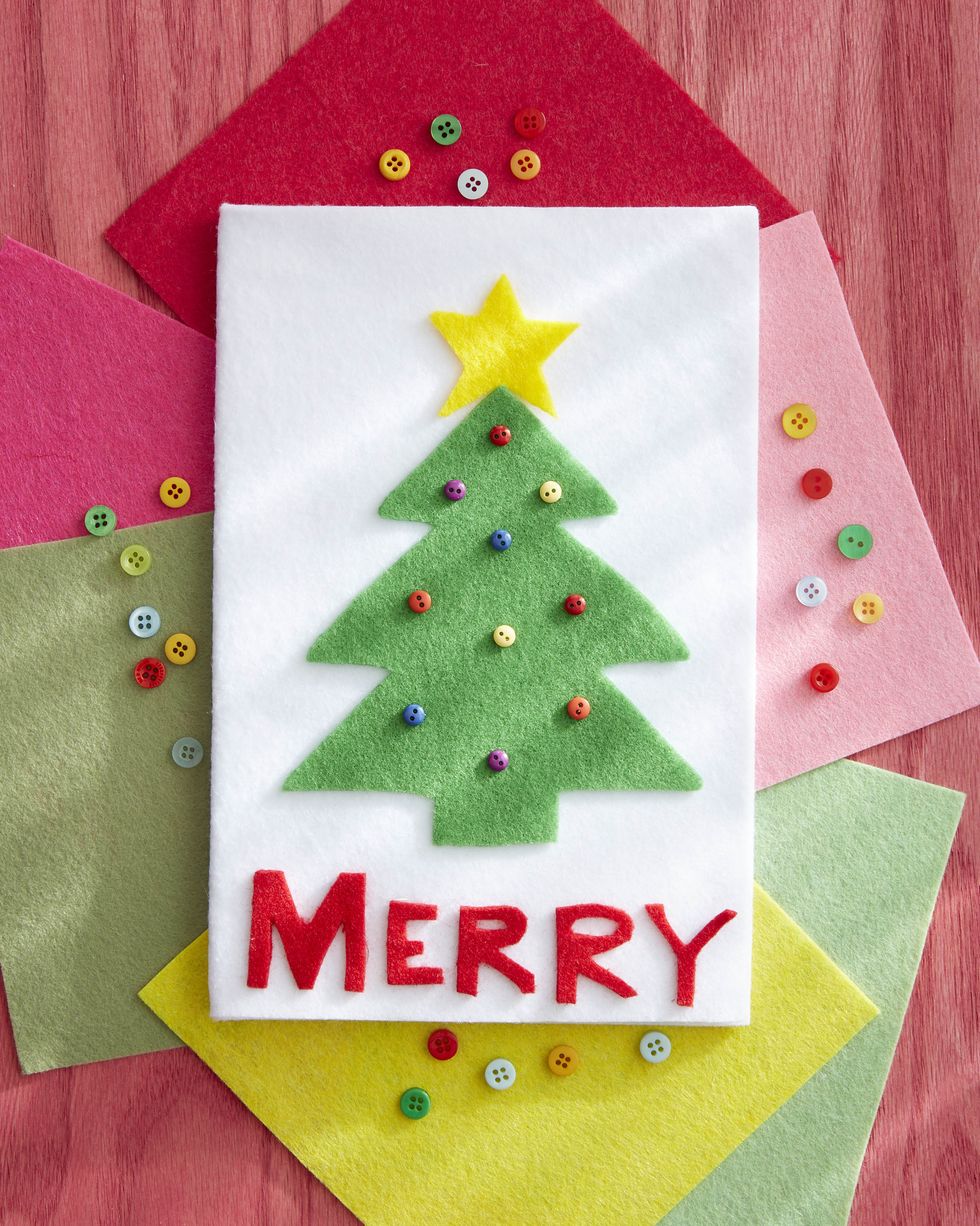
Greeting card with a Christmas tree
What will you need:
- A4 paper in the selected color
- Green felt
- Yellow felt
- Small colored buttons
- PVA glue
- Scissors
Instructions:
- Fold the selected paper in half to create an A5 format.
- Pre-draw the shape of the Christmas tree on the green felt and then cut it out.
- Draw a star shape on the yellow felt, which you also cut out.
- On the front page of the card, stick a green tree and a star in the middle.
- Coat the buttons with glue and place them on the tree as Christmas ornaments.
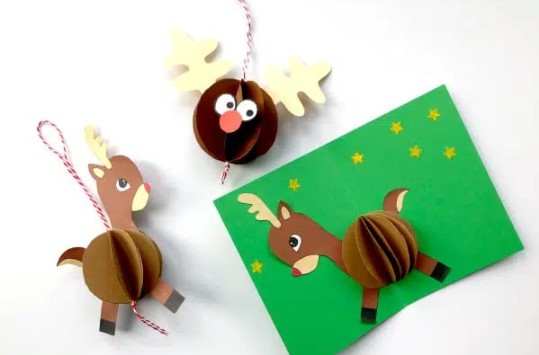
Christmas pop-up card with a reindeer
What will you need:
- A4 paper in green color
- Brown paper
- White paper
- Adhesive
- Scissors
Instructions:
- Prepare a paper reindeer. You can search for any cartoon character on the internet. Or you can follow the video below.
- Cut circles out of brown paper that will be used instead of the reindeer’s body. Cut out 10 circles of appropriate size.
- Fold the individual wheels in half. Gradually glue the individual halves of the wheels together.
- Stick the reindeer on the paper and place the body from the glued wheels in the middle. Glue the outer halves to the Christmas card. And you’re done!
We have attached a video tutorial for more detailed instructions:
Are you wondering how to decorate the Christmas tree this year? We will introduce you to different color combinations and the correct decorating procedure in our article.
Discover similar tips
DIY greeting cards requiring more skills
Christmas Tree Greeting Card
We love making DIY Christmas cards, and one of our favorite designs is a simple Christmas tree.
The Christmas tree is a powerful symbol of the holiday season, representing joy, hope, and renewal. It’s a beautiful way to convey the spirit of Christmas in a card.
Creating a Christmas tree on a card using green paper cutouts or even finger-painted designs adds a personal touch that everyone will appreciate.
It’s a fun and meaningful way to spread the Christmas cheer!
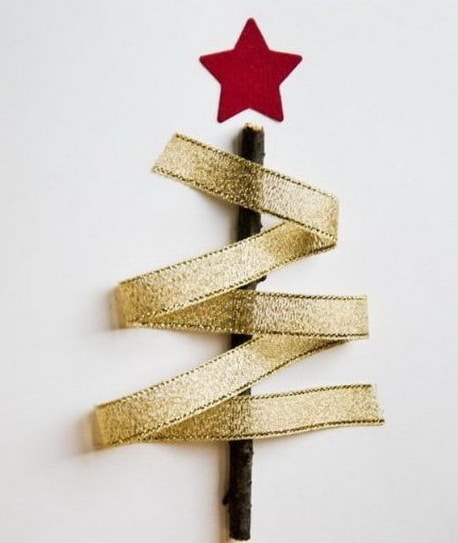
Greeting Card with ribbon Christmas Tree
What will you need:
- A4 stiff paper in the selected color
- Green or gold ribbon
- PVA Glue
- Scissors
Method
- Fold the paper in half to make A5.
- Iron the ribbon with an iron. This will achieve a completely straight ribbon that is easier to work with.
- Start shaping the ribbon on the paper from the tip of the tree to its trunk.
- First, glue the beginning of the ribbon, then base it according to the tree’s shape, and glue the ribbon again. Place the ribbon like this and stick it with glue until you get the tree’s shape (as shown in the picture below).
- Complete the decorations, and you can give the ribbon Christmas tree as a beautiful Christmas card.
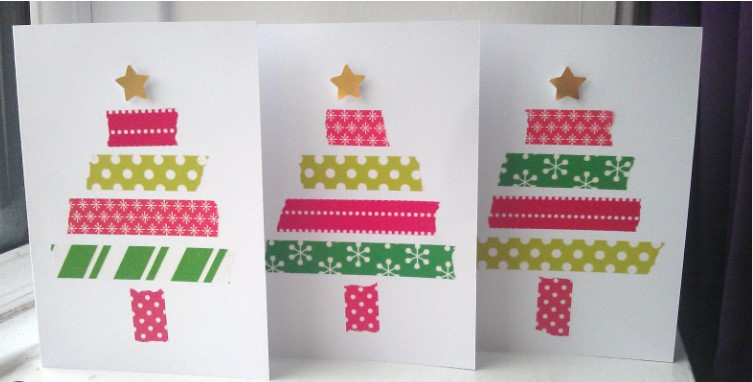
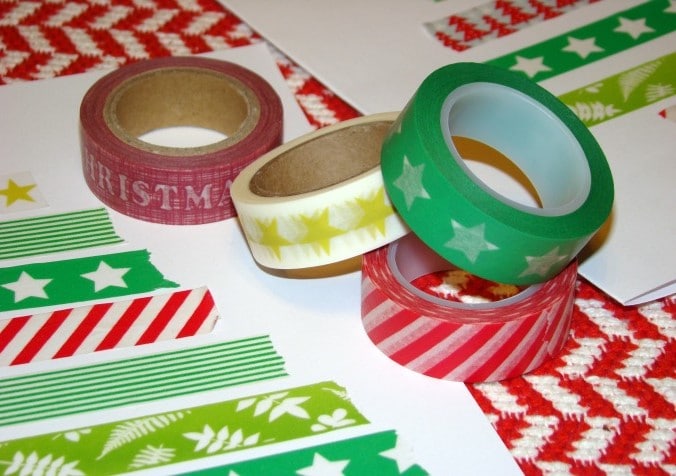
Washi Tape Christmas Tree Cards
These DIY cards are so easy to make, and they’re a great way to use up any extra washi tape you have lying around. They also make a great last-minute Christmas card craft!
Material for production
- White Cardstock Paper
- Different types of Christmas washi tapes
- Scissors
Instructions:
- Fold A4 paper in half to A5 size.
- Starting at the bottom of the Christmas tree, cut strips of Washi tape from longest to shortest.
- Glue the strips on each other with smaller gaps until you reach the shape of a Christmas tree.
- It is a good idea to have several types of adhesive tape with Christmas motifs and alternate them to make the tree more cheerful.
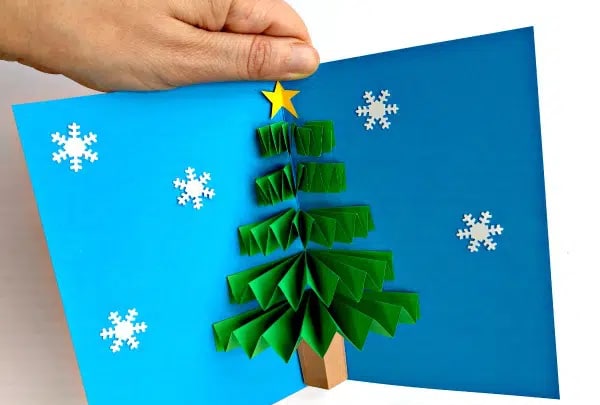
Christmas card with a 3D Christmas tree
A beautiful DIY Christmas card with a 3D pop-up Christmas tree requires some skills.
But the project is fun and easy. It will add a personal touch to your holiday greetings, and the recipient of the card will be very impressed with the pop-up design.
This DIY Christmas Pop-up Card is based on the concertina paper folding technique, also known as “paper fan folding.” This simple technique is very effective and produces oh-so-pretty results. We love it!
What will you need:
- A5 sheet of green paper (or white) – this can be construction paper, but I usually use “printer paper” quality paper for these crafts
- A little brown paper/ card
- The scrap of yellow paper for the star
- Snowflake confetti (optional)
- Glue stick
- Pair of scissors
- Rulers
- A6 Card stock & envelope
Method
- Cut this paper into strips of 2 inches, 1.6 inches, 1.2 inches, 0.8 inches, and 0.4 inches.
- Cut out a 1×1 inch square from the brown paper. Fold the paper in half, then fold the outer edges 0.2 inches on each side. Glue the folded edges to either side of the open Christmas card, creating a tree trunk.
- Glue the widest strip to the tree trunk – with the outer edges to the open card.
- Glue smaller strips on top of each other with small gaps to create the shape of a Christmas tree.
- Cut a star out of yellow paper and stick it on the tree.
- Cut out snowflakes from white paper and stick them where you like.
Content is just as essential as the appearance of the Christmas card, in which we wish our loved ones a wonderful Christmas season. Get inspired by the article with the best Christmas cards.
DIY Greeting cards made from other materials
Christmas cards don’t have to be made of paper. We can use various natural materials, such as pom pom balls and others, to make them. Come to see more inspirations.
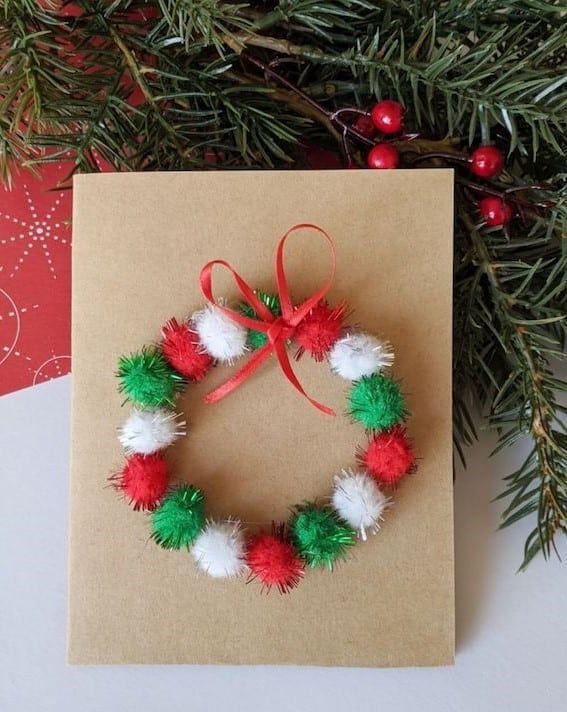
Pom-Pom Wreath Christmas Card
Here is another children’s homemade Christmas card idea using pom-poms. These cards are easy enough for children to make at preschool or at home with little help.
What will you need:
- Brown Cardstock Paper
- Green Glitter Pom Poms
- Red Ribbon
- Glue
- Black Marker
Instructions:
- Cut a letter-size cardstock paper into half and fold it from the middle.
- Trace a circle on folded cardstock.
- Glue pom-poms along the circle and let it dry if you’re using regular school glue.
- Cut a piece of red ribbon and tie a bow.
- Glue the bow on the wreath, as shown in the picture below.
- Cut out the shape of a star and tree stem from gold glitter paper. Glue them on the card as shown.
- Let the child make it an extra-special personalized Christmas card for the loved one.
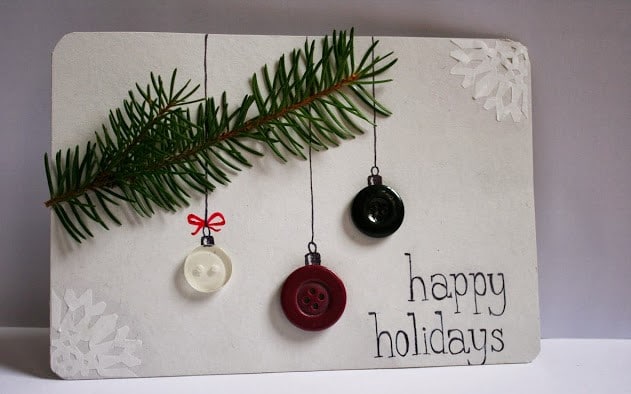
Greeting Card Design with a Coniferous Tree Branch
Looking for a unique and beautiful greeting card design? Why not add a touch of nature with a coniferous tree branch?
What will you need:
- A4 white card paper
- Sprig of coniferous tree
- Colorful buttons
- Glue gun
- Pencil
Method
- Fold the paper in half to make A5 size.
- Place the paper in front of you, folded lengthwise, and glue a twig to the top using a hot melt gun.
- Then, draw thin lines with a pencil – of different lengths, leading downwards from the twig.
- Glue different colored buttons to the ends of these lines.
As you can see, there is a lot of inspiration around you. You can create from paper, natural materials, and various decorative elements. You can also have fun with the kids. Creative activities, such as gluing and cutting, develop children in many ways, and you will also have a lot of fun doing them.


 Milan & Ondra


 Central Europe
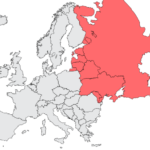 Eastern Europe
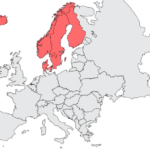 Northern Europe
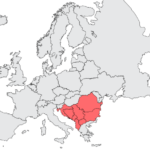 Southeast Europe
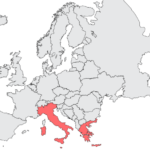 Southern Europe
 Southwestern Europe
 Western Europe